

 Back in January, I posted about making Soy-Sake Asparagus in the crock pot. At the end of the post, I mentioned that my friend Roopsi had given me the dual crock pot that I had been coveting. Well, not long after making that post (January 25), I tried it out for the first time, making both a side dish (Crock-Baked Beets) and a main dish (Pollo Colorado) from the Not Your Mother's Slow Cooker Cookbook. My pair of recipes in this case might seem a little bizarre, but I was looking for two recipes that both cooked all day and both didn't take very many ingredients so I would be able to turn them on before I went to school and also wouldn't have to spend much money. The cool thing about the dual crock pot, however, is that you can easily do two recipes that cook for different times -- you just have to be able to be home to start the second recipe whenever that is called for.
 As usual, I did most of the prep work the night before. For the beets, this meant that they had to be scrubbed and the stems trimmed to one inch. The great thing is that I saved the beet greens and cooked them up later after I had finished the beets. The beets only need to be wrapped in aluminum foil and then placed in the crock pot, so I wrapped them the night before, but waited until the next morning to put them in the crock pot. For the pollo colorado (a.k.a. chicken in red chile sauce), I only had to chop some onions and peppers. The recipe says, "If you are going to eat pollo colorado as a stew, chop the onions and peppers into 3/4-inch pieces. If you are going to use it as an enchilada, burrito or taco filling, slice the onions and peppers." I wasn't planning to do either of these things, so I chose to slice them, which I did the night before.
 That morning, I assembled the crock pots. The beets were easy because all I needed to do was put the beets that had been wrapped in aluminum foil into the crock pot. For the chicken, I had to put the sliced vegetables in first. Putting this recipe together really showed me what the one drawback to the dual crock pot is: each of the pots is only 2.5 quarts (about half the size of my 4 quart crock pot). I started adding all the vegetables, quickly realizing that the recipe I was making was designed to be cooked in a crock pot at least the size of the red one that I have. So, I decided to just make half the recipe, figuring that I could just make the other half once I ate all of this one.
 After adding the vegetables to the pollo colorado recipe, the only other ingredients are frozen boneless, skinless chicken breast halves and a can of red chile sauce or enchilada sauce. Now, the cool thing about the Not Your Mother's Slow Cooker Cookbook is that for sauces that might be difficult to find, they often will provide a recipe for making it yourself. I didn't do that in this case, but the book has a recipe for a basic red chile sauce just in case.
 Each of these recipes was able to cook for about the same amount of time. The beets say to cook for four to six hours on high, while the chicken was to cook for five to seven hours on low. As you already know if you've read my blog before, I turned the crock pot on when I left the house in the morning and was able to have dinner when I got home that night -- longer than the allotted time according to the recipes, but I've never had a problem with things overcooking.
 When these were done cooking, the beets took a little extra work to finish preparing because you have to take the skin off. An especially fun task when the beets are as hot as they were coming out of the slow cooker! Then they are sliced and can be served hot with butter or cold with salad dressing (as I did with some of the leftovers. Overall, I feel the same way about cooking beets in the crock pot as I do about doing baked potatoes in the crock pot: It doesn't feel like the best use of time because they can be cooked quicker getting the same result. However, there may be times when it actually is the best use of time to cook them in the crock pot.
 For the chicken, the recipe says, "Cut [the chicken] into chunks if you are making a stew; slice or shred it if you are going to be filling tortillas." As you can see from the picture to the right, I just served myself some chicken. However, I would not recommend this. Although this recipe would make some great burrito filling, it is too blah on its own. Now, the pollo colorado recipe says that it serves 4-5. I only got 4 servings out of it (after making it a second time to use up the vegetables that I had previously cut), but I also purposely selected smaller pieces of chicken because they fit better in the smaller crock pot. The beets are supposed to serve four, but I tend to give myself big servings of vegetables, so I only got three out of it.
So, each of my servings of beets were about 105 calories and about $2.00. That's pricey for a side dish, but I also had to search the produce aisle for the fresh beets so it's obvious that they're not all that common here. Though, I used to buy them at the farmers' market in Berkeley, California when they were in season at a much better price. The chicken was only about 237 calories per serving (though if you added it into a burrito, the whole dish would have more). I paid about $4.12 per serving for the chicken dish, but the bulk of that was the large bag of frozen chicken breasts. Since most of those were leftover I could probably cut the price for that in half in terms of actual use (making it a much more reasonable $2.87 per serving).
--------------------------------
I apologize for missing the blog for so many weeks. After the semester ended, I was home visiting my parents and although I brought all the information about the recipes to update my blog, I just didn't have an opportunity! I should be better over the summer... until August when I'm getting married. :)


 For the first few months of this year, I got on a soup kick with my crock pot, trying out different soups from
  and
and 


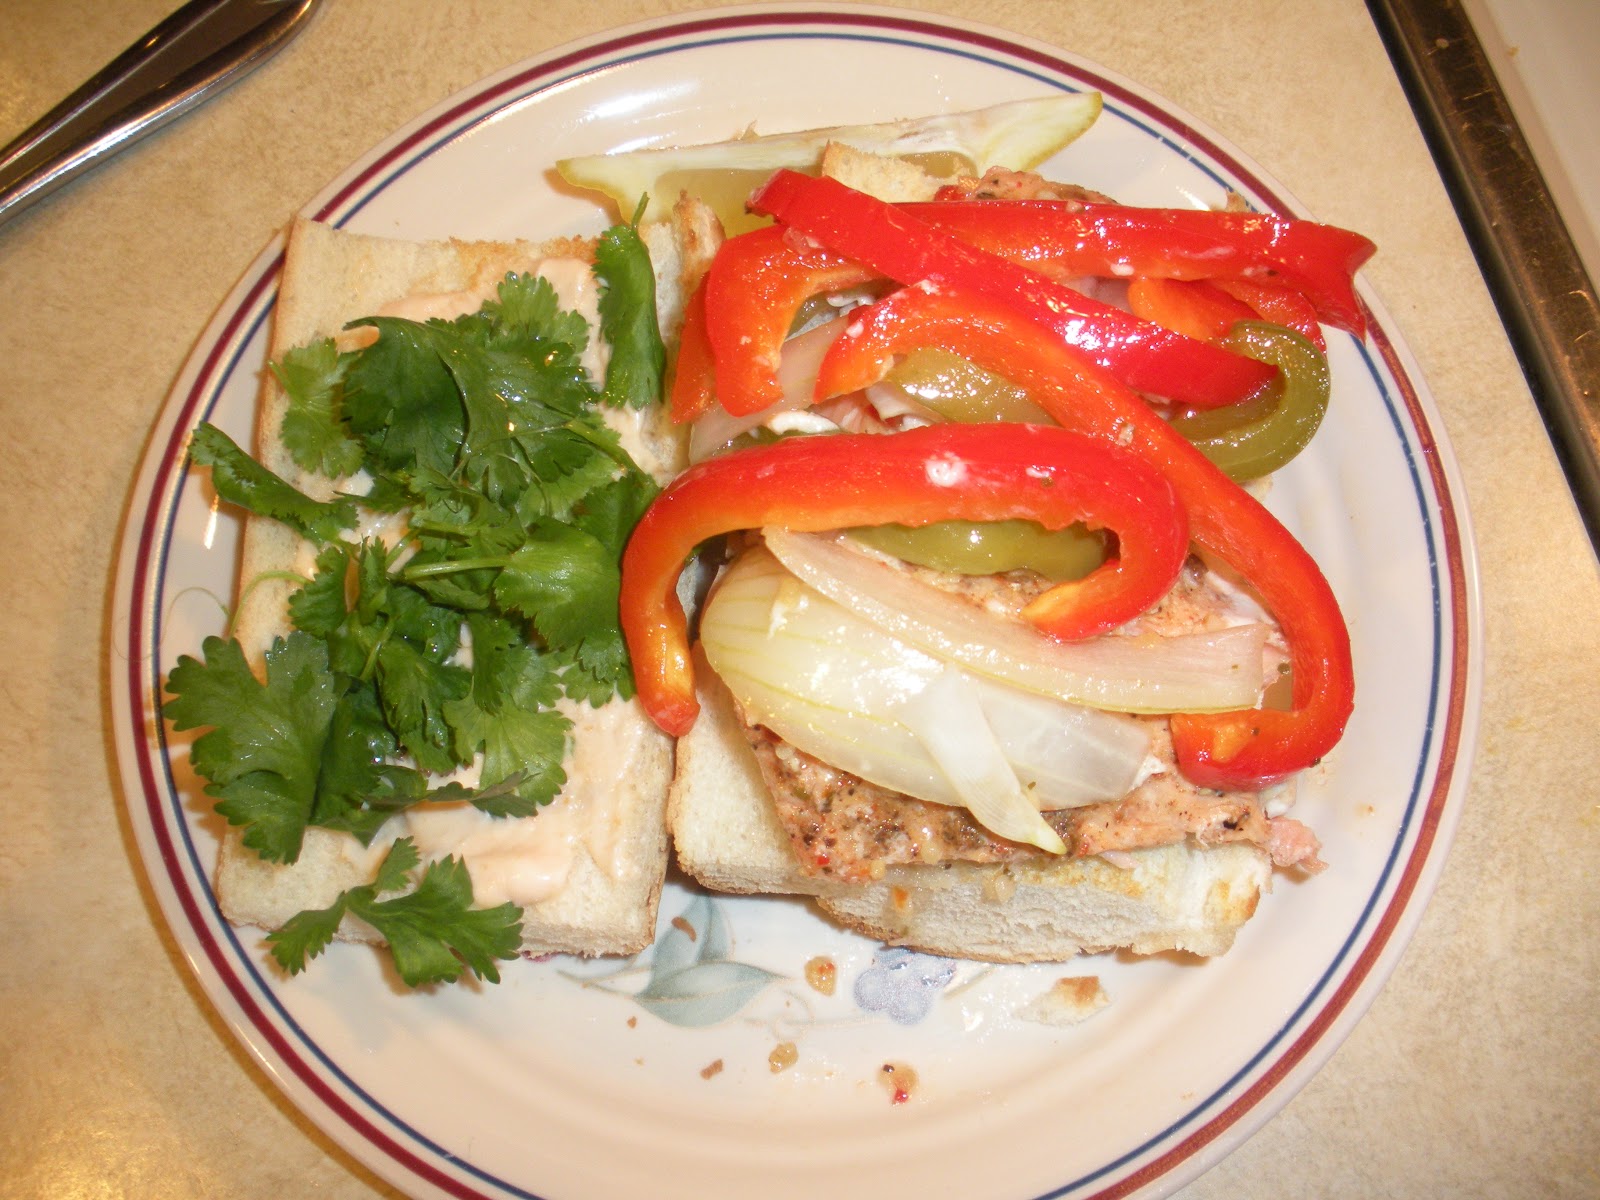
 So, I was originally planning to post about this last Friday, a fish dish in honor of Good Friday, but the internet was out all weekend, so no such luck.




 at the store and they were on sale (2 for $5.00) before realizing when I got home that I already had dried cranberries from Trader Joe's. The remaining ingredients were just over $6.00, though I already had eggs and my roommate already had gingersnaps. You can probably get everything you need for this dessert for around $10.00, so you could probably estimate around $2.00/serving.