I've been pretty busy finishing up fellowship and grant applications and actually finding time to work on my dissertation, so my blogging has been set aside a bit. Since this week is spring break, I thought I'd take this time to catch up a little bit.
 About a year ago (7 March 2012), I made this really easy "Chicken in Honey Sauce" from the Crock Pot Best Loved Slow Cooker Recipes Cookbook. I love really quick and easy recipes for the crock pot because I generally don't have much time in the morning if I'm going to school so something I can just throw together is key. This is that type of recipe. You put chicken breasts (boneless, skinless) into the crock pit and season with some salt and pepper.
 Then you mix together honey, soy sauce, ketchup, oil, and garlic and pour it over the chicken. That's everything in terms of prep. It cooks on low 6-8 hours or high 3-4 hours. Another thing about this recipe is that it doesn't have anything that will go bad or you can't freeze beforehand, so if it turns out you're not going to make it the week you buy the ingredients, that's ok. I actually got most of the ingredients for this mid-February 2012, but didn't make it until March. And I know the date that I made it because I have the receipt from when I noticed that I didn't have enough honey and had to run out that morning to get some.
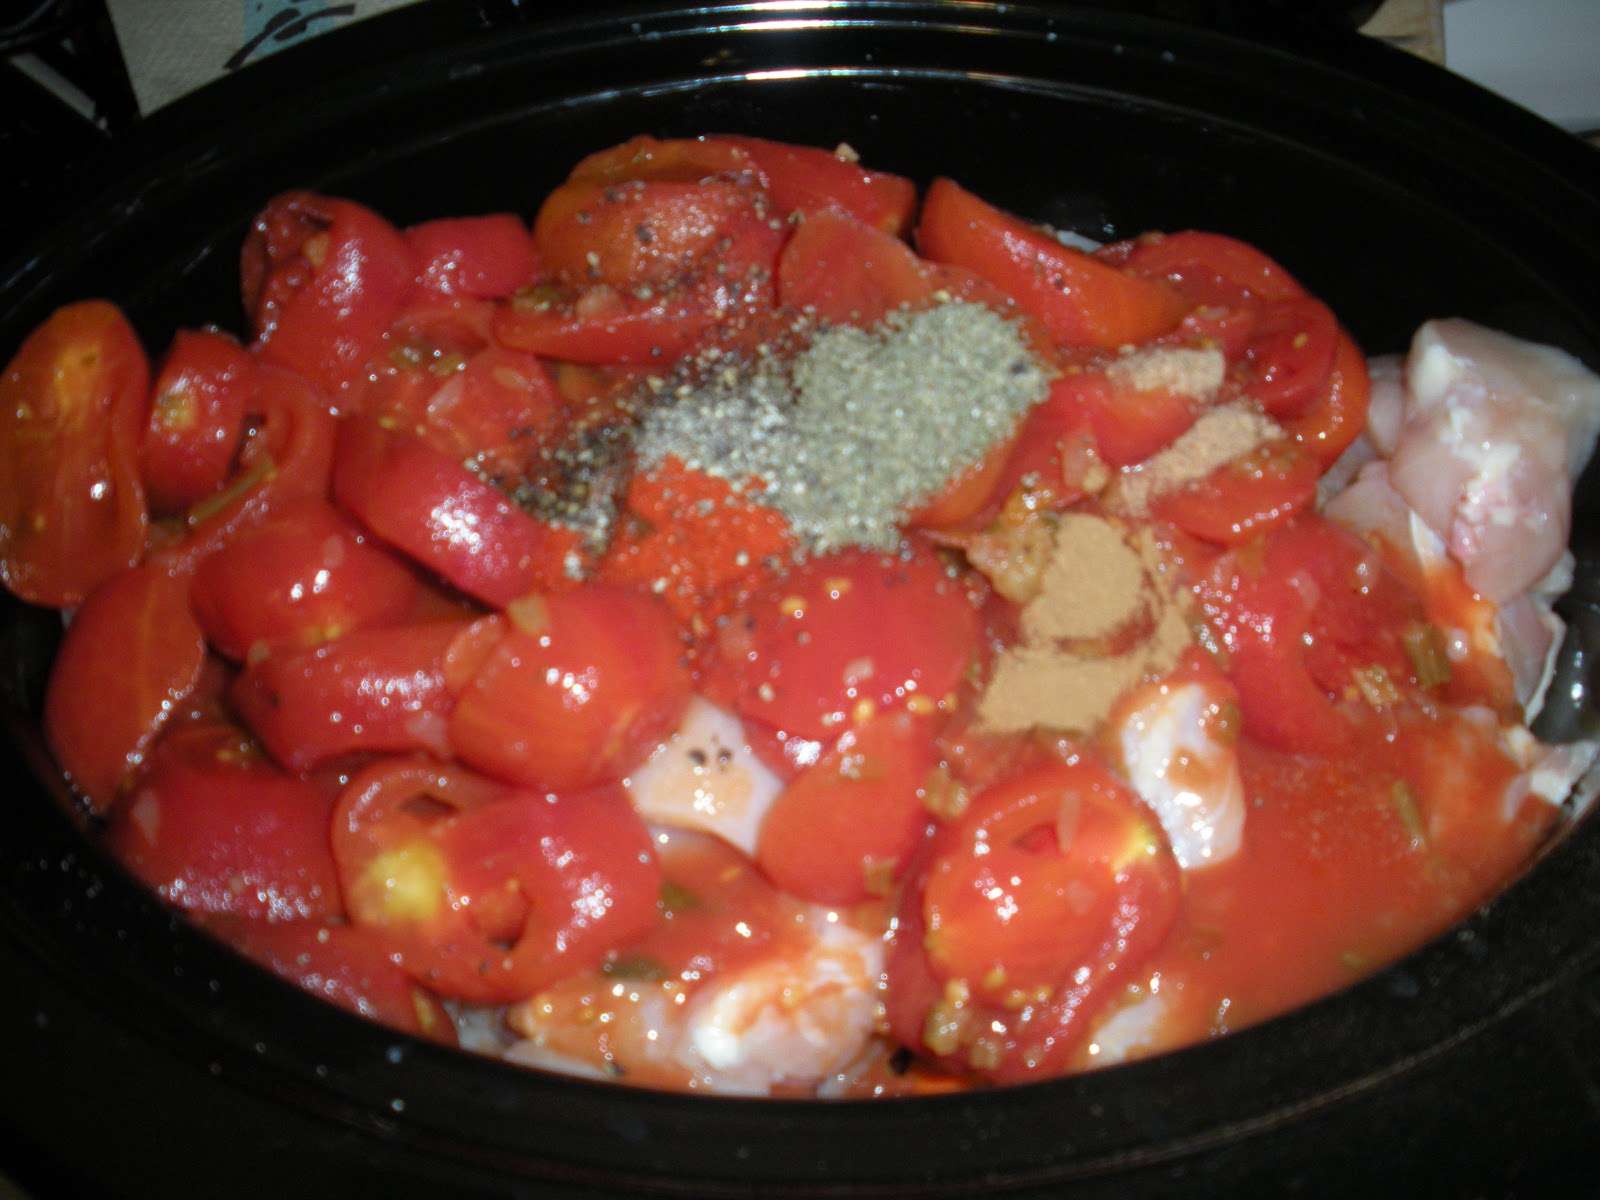
This is what it looked like before turning it on.

And this is what it looked like when it was done cooking.
 I copied the picture in the cookbook and served it with a vegetable and rice (though not the vegetable or rice in the picture. The cookbook recommends that you "garnish with sesame seeds before serving," but not having sesame seeds on hand and not wanting to buy some just to garnish this dish, I left that step out. Now, as you can see from the picture from the cookbook (below), mine looks nothing like the chicken that they picture in the cookbook. This is another reason why I think that the food that they use in their images wasn't actually cooked in a crock pot.
 Now, this dish seems like it's high calorie, but it's mostly because of the ingredients in the sauce, and you don't eat all the sauce. But, not taking that into account, if you have one breast per serving like the book suggests, it comes out to 611 calories per serving. Of course, you can load your plate up on veggies and have only half a breast, like I did, and it would be only 305 calories per serving. In terms of cost, this is great for stretching your stipend. If you have only half a breast per serving, you end up only paying $2.58 per serving ($5.16 if you have a whole breast) and you have more than enough food to last you into the following week. Of course, I didn't have to buy everything for this, so I paid $1.85 per serving for the half-breast size serving and $3.70 per serving for the whole-breast size serving. So this is good for stretching your stipend and it's really good too. I noted in the cookbook that it was "very tasty" and that my husband gave it an "A-." Not an A, but still pretty good.