Thursday, July 29, 2010

Meat Loaf on a Bed of Potatoes

On June 14, in between my summer travels, I made meat loaf in the crock pot.  Basically, I came back from spending time at home after my best friend's wedding, and realized that the bag of potatoes I had purchased before I left was starting to sprout.  Since I was going to be leaving in another week for the ordination of some of my friends from my M.A. program, I began searching my crock pot cookbooks for a recipe with which I could use up the potatoes, and I quickly found one in my other favorite crock pot cookbook: Not Your Mother's Slow Cooker Cookbook.  This cookbook definitely has some more interesting recipes than the one I used in my previous posts, but I don't use it as frequently because often the recipes are more complicated: you cannot just throw the ingredients in when you wake up in the morning, turn it on before going to school, and then have dinner when you get home.  Also, there are no pictures.  :)

The cool thing about this about this recipe is that you're cooking your main dish and a side at the same time in the same crock pot (of course, I still covet this one... and apparently there's one where you can do three recipes at a time as well).  The recipe calls for you to use olive oil to grease the bottom of the crock pot--I used nonstick cooking spray.  Then you just fill the bottom, neatly, with the peeled and cut potatoes.

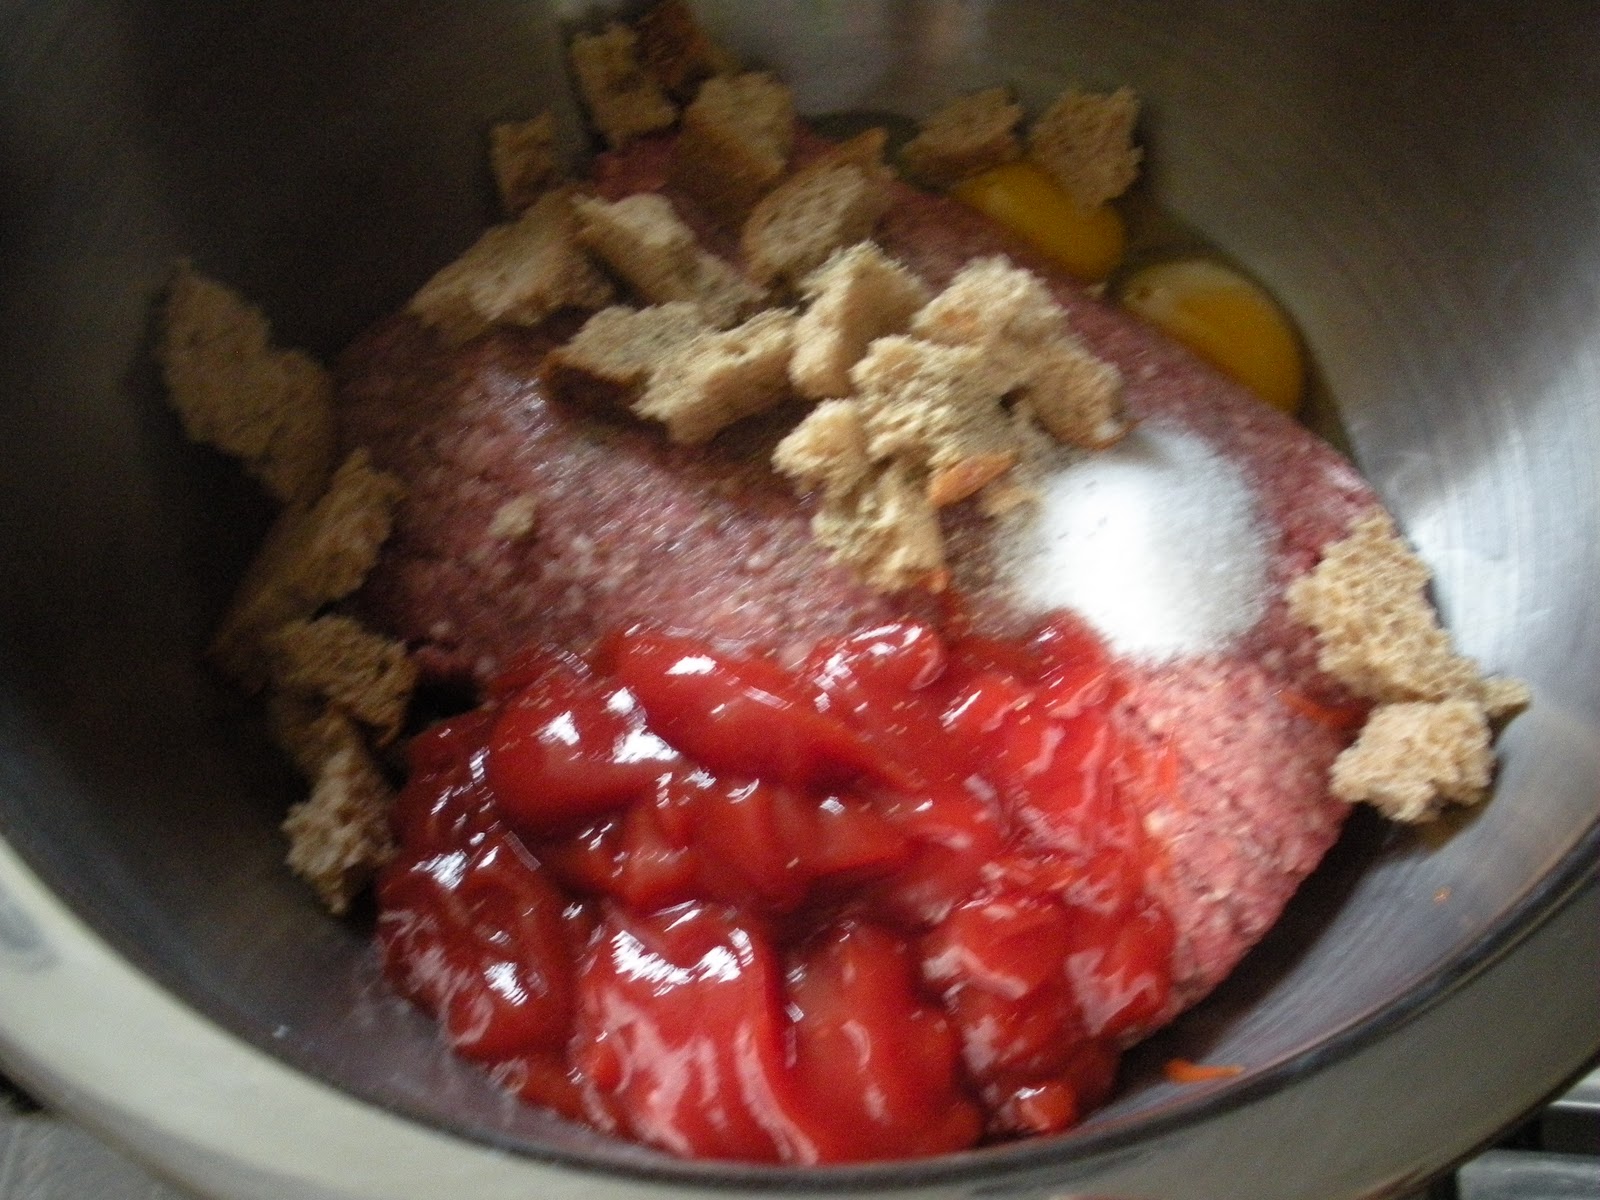
You make the meatloaf in the same way that you'd normally make meatloaf.  Now, this recipe is not the way that I'd normally make meatloaf, and I did adjust the recipe a bit.  It's possible that some of the problems I had with serving the meatloaf (see the end of the post) would have been taken care of in the original recipe, but I cannot say that for sure.

The recipe is basically just ground beef, eggs, some form of bread crumbs (the recipe called for saltine crackers, I used bread, as you can see in the image above), ketchup, salt, and pepper.  Normally I don't add salt to my recipes, but I did this time.  You just mix all the ingredients together with your hands, then form it into a loaf in the shape of your crock pot, before placing it over the potatoes.

The recipe also calls for a topping, something that I normally don't do with my meatloaf either (I generally make meatloaf the way my mother did: ground beef or turkey, egg, bread, and onion).  The topping is only ketchup, light brown sugar, and Dijon mustard mixed together.  I was interested to see how it would end up making the meatloaf taste, because I don't usually think of sugar in my meatloaf.

Of course, when you mix it all together, it really just looks like ketchup.  You place the topping on top of the meatloaf and then, to illustrate my previous complaint about this cookbook, you have to cook it on high for one hour before switching it to low for another 6-7 hours.  What I did to make this before heading off to school was that I got up and the first thing I did was make the meatloaf and turn the crock pot to high.  Then, I was able to shower and get dressed and switch the temperature to low before heading off to school.

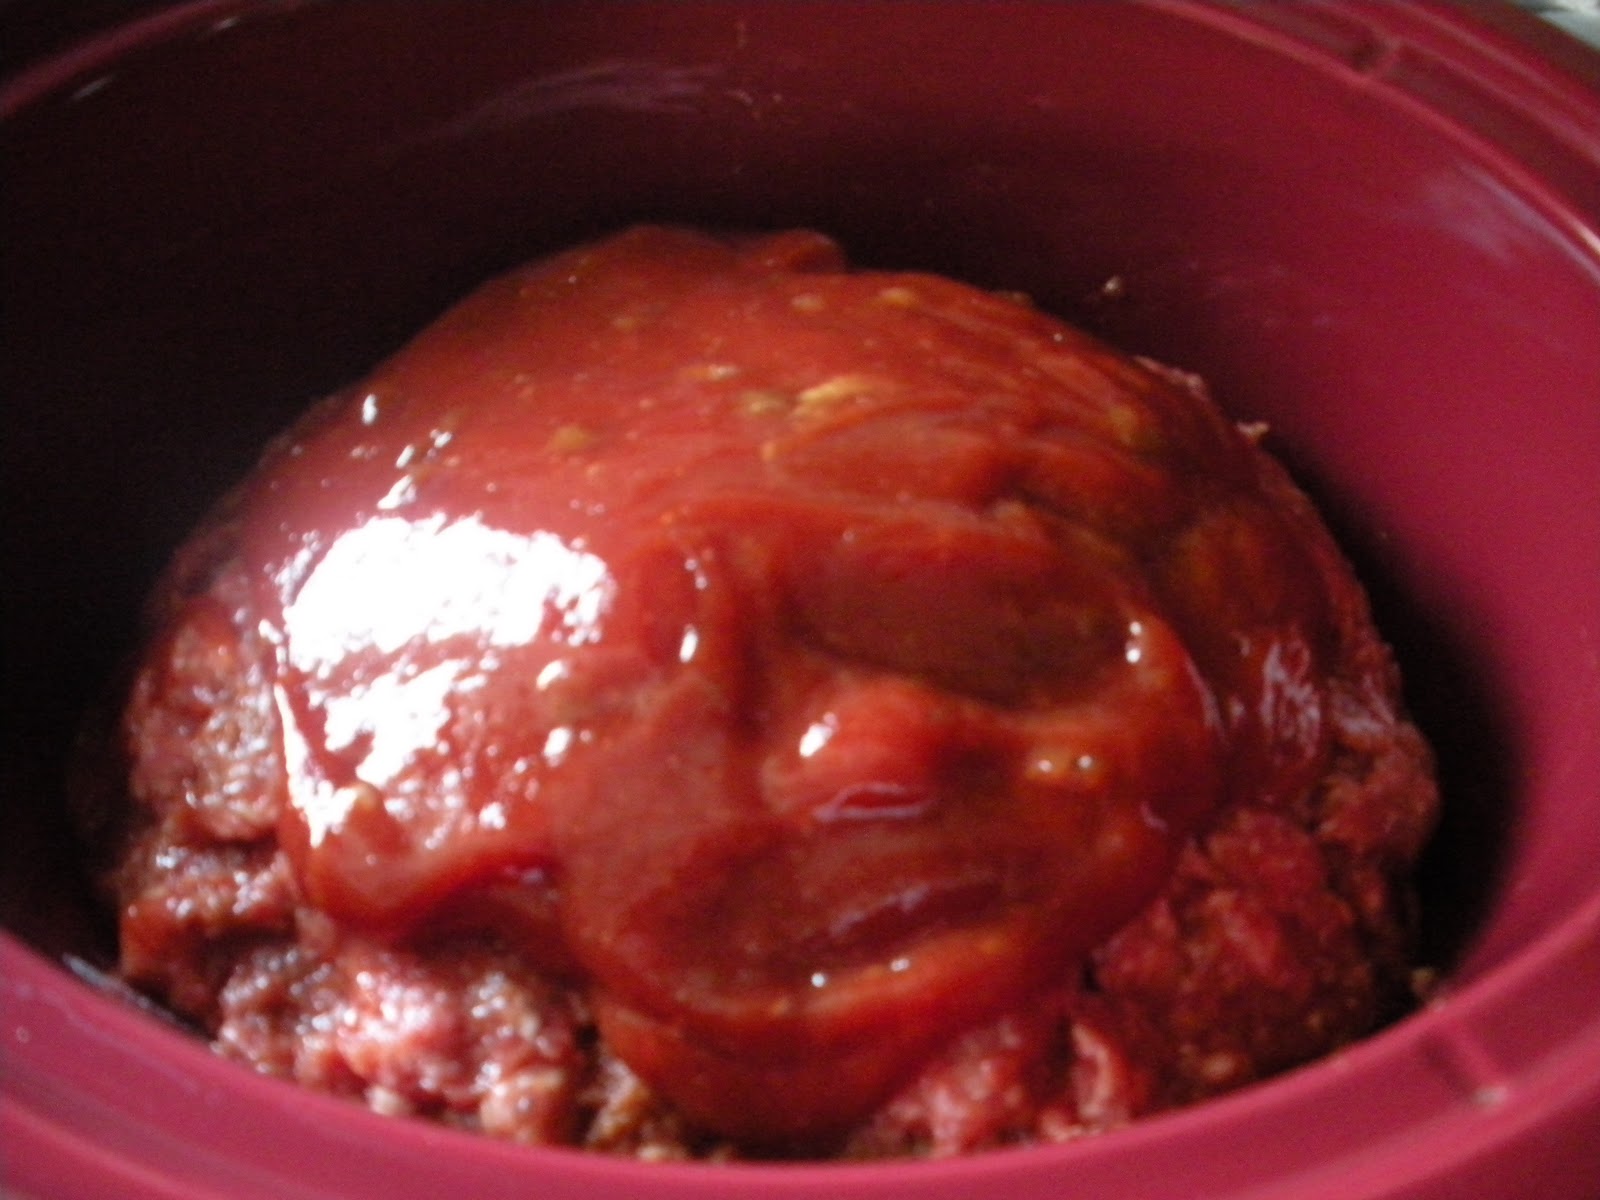
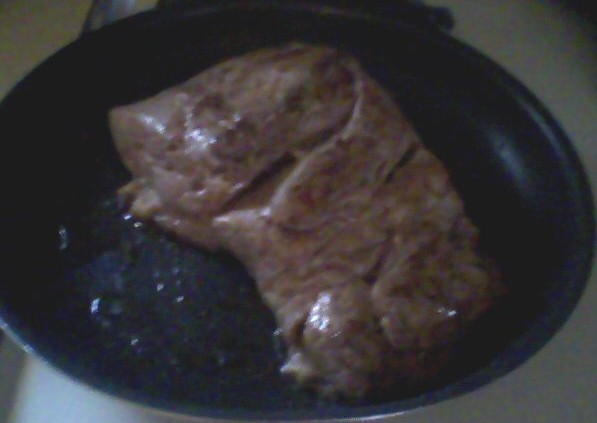
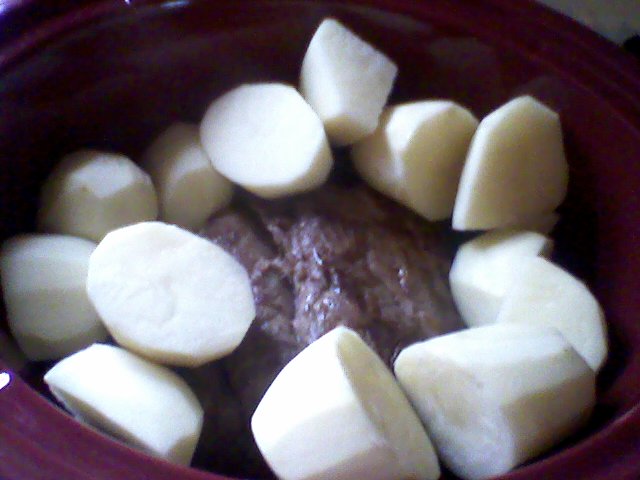
This is what the meatloaf looked like when I first turned it on.

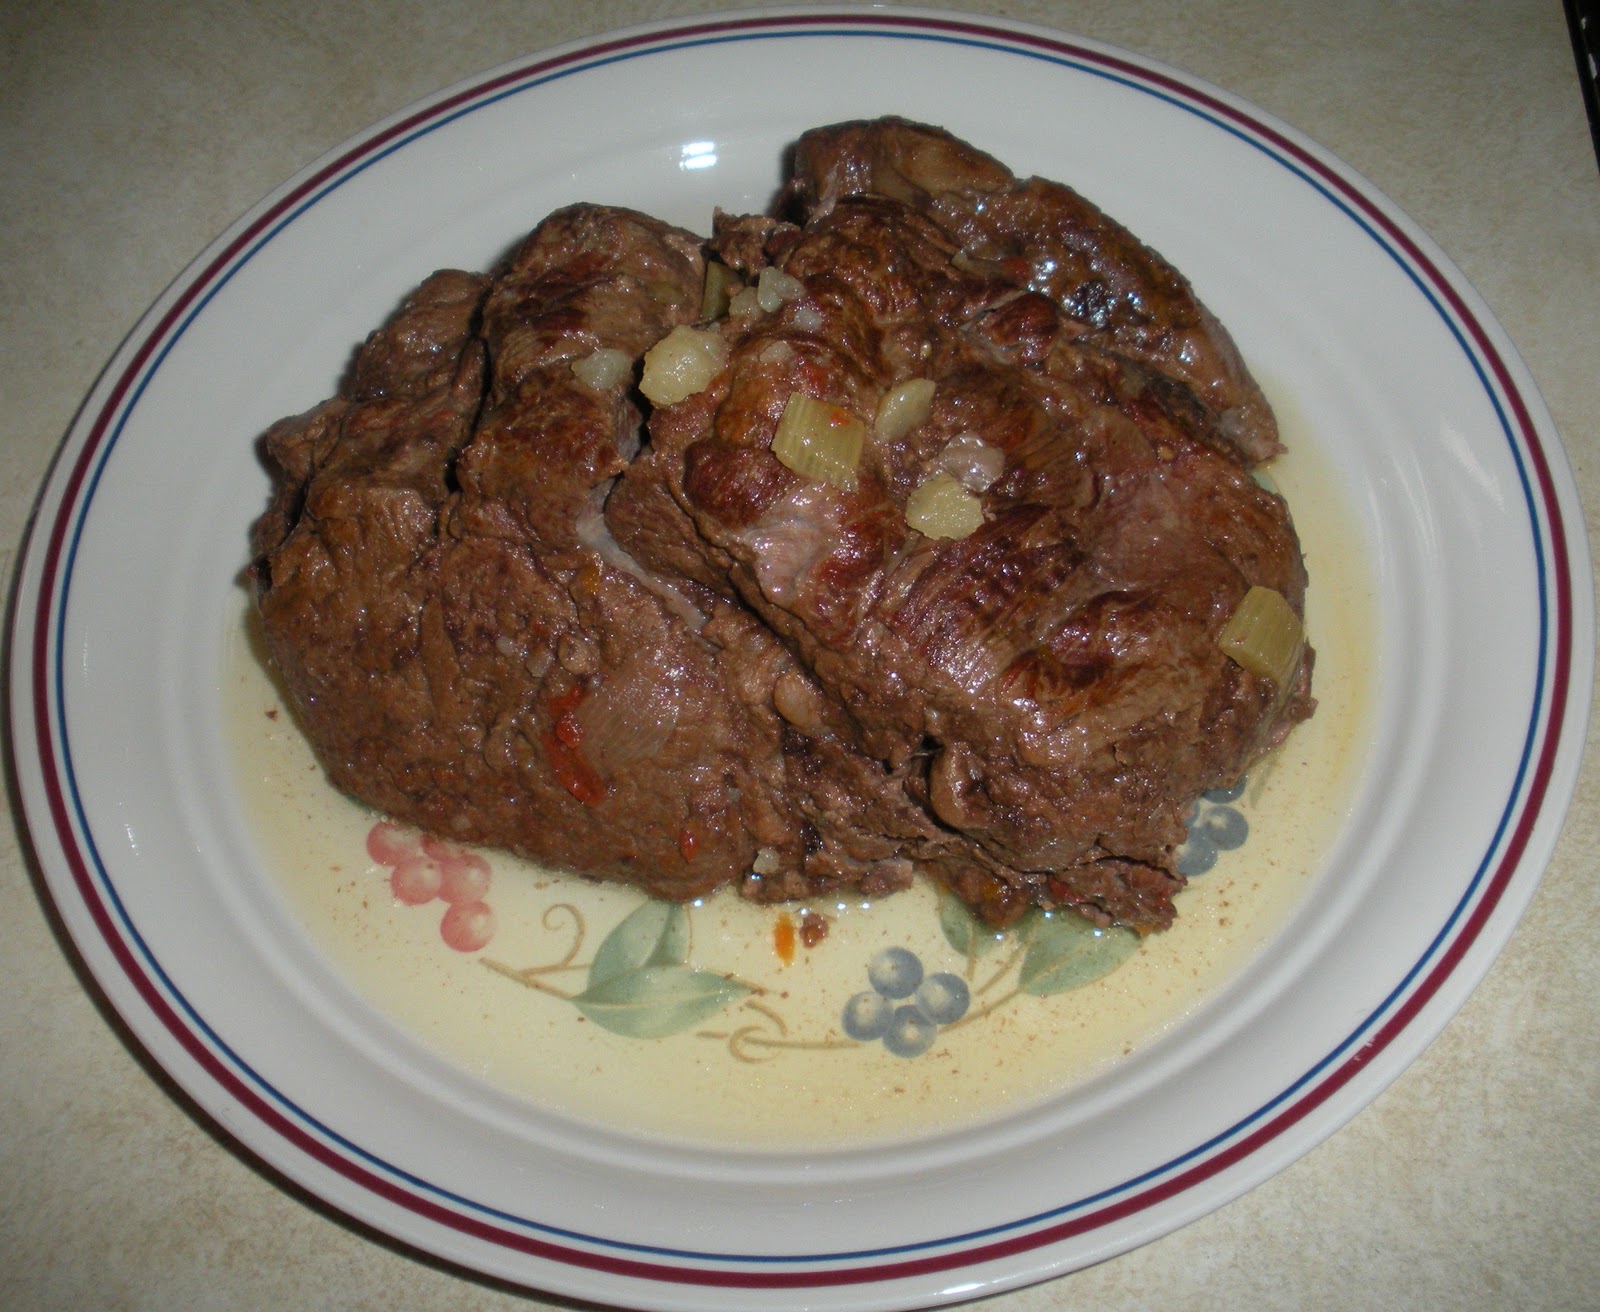
And this is how it appeared after cooking for eight hours.

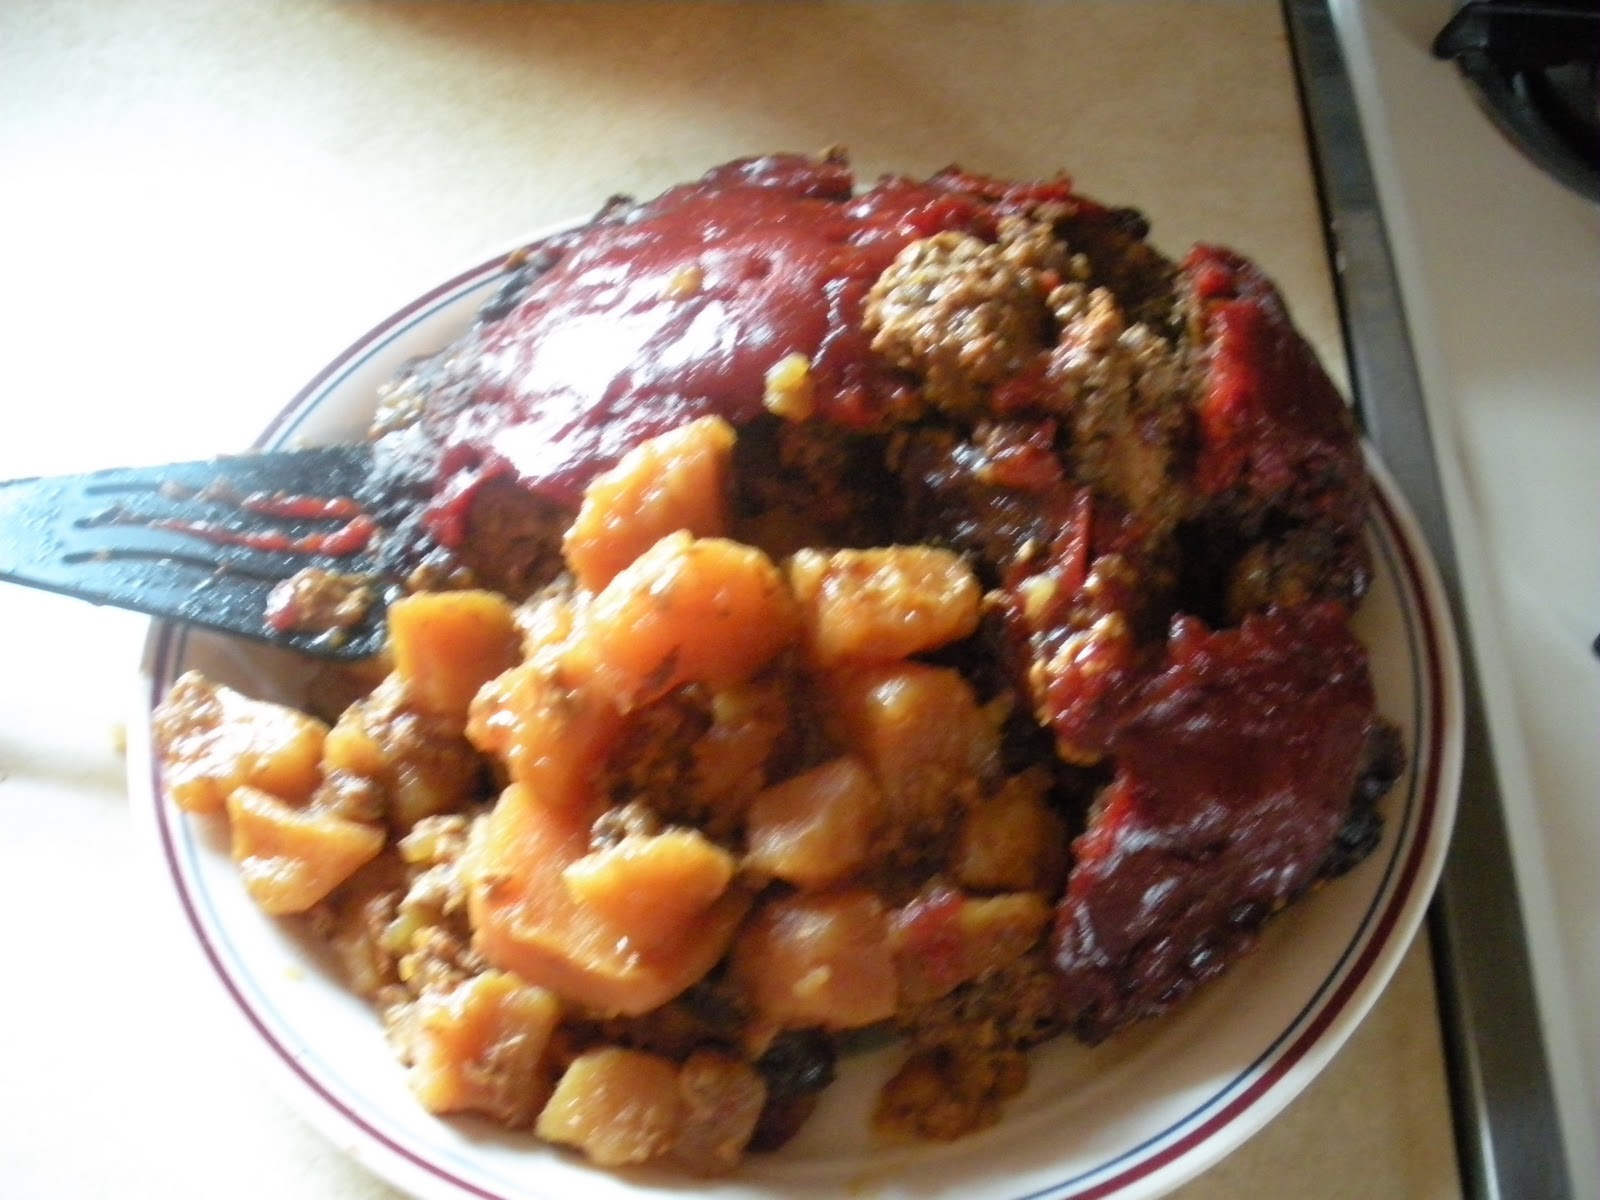
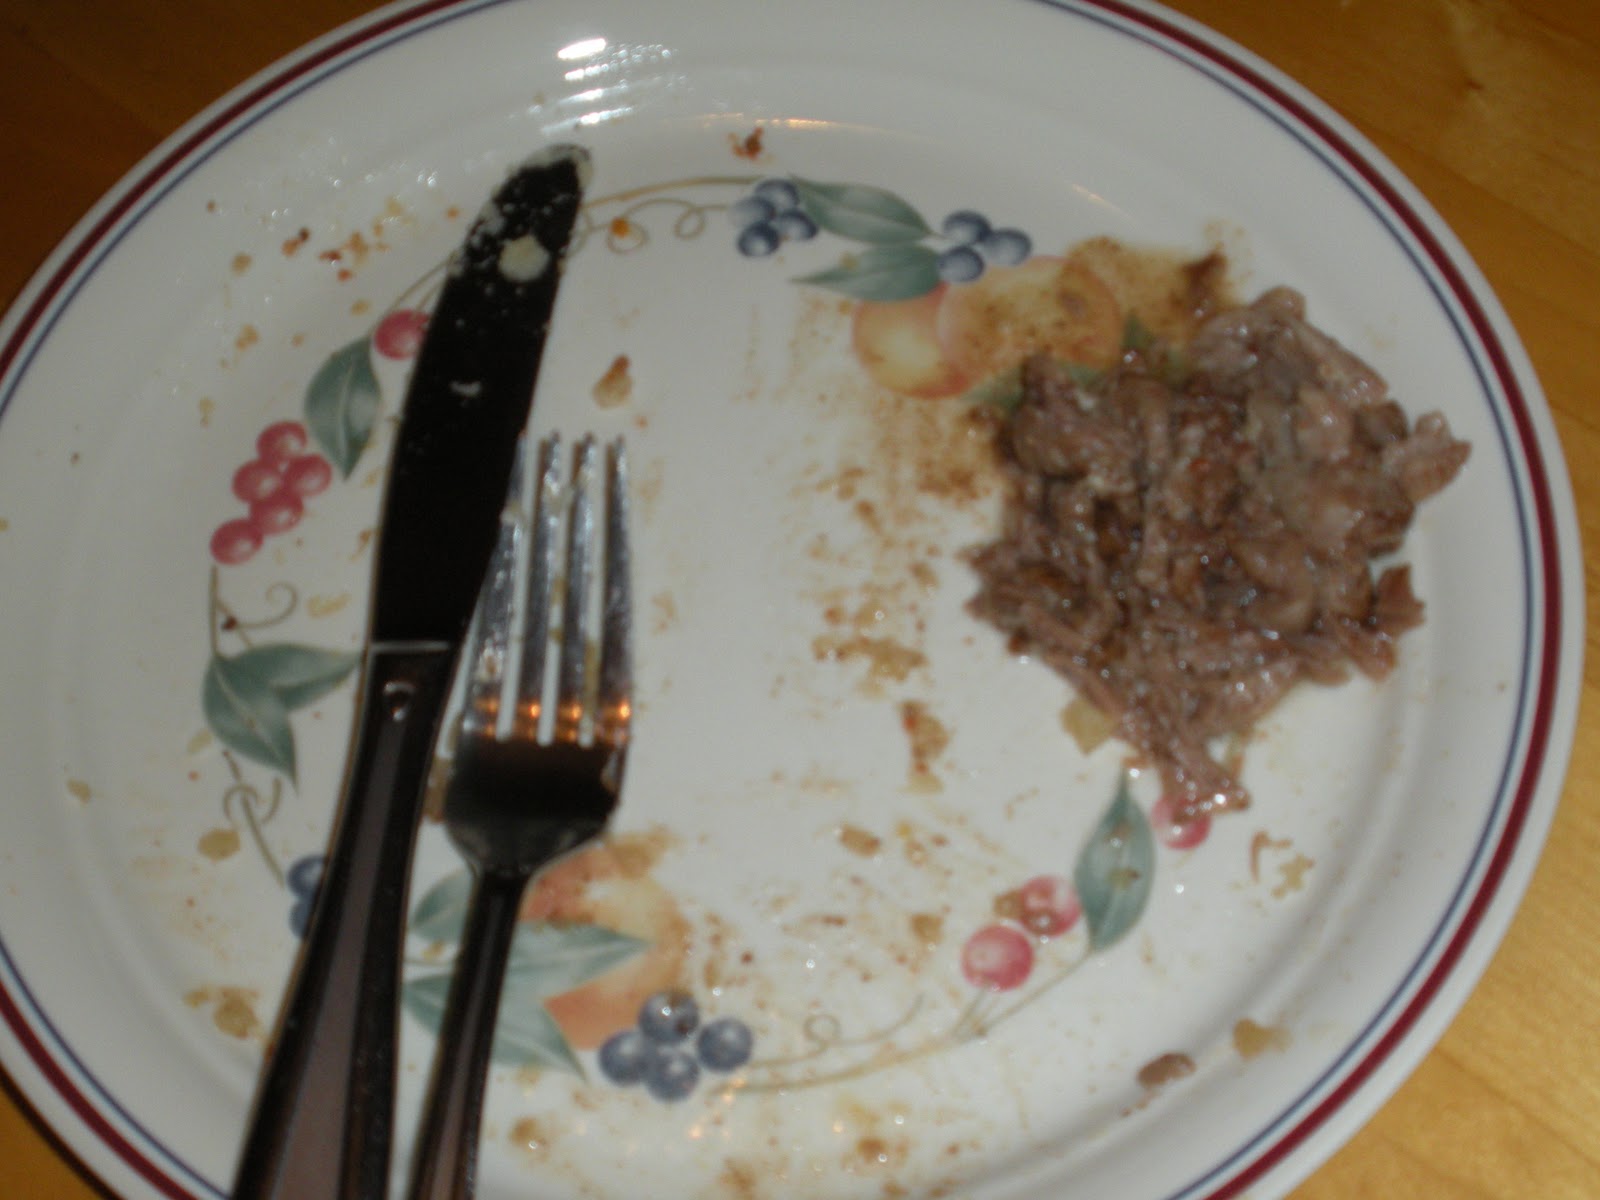
Now, the difficulty with the meatloaf came when I tried to take it out.  When I make meatloaf in the oven, using my mother's recipe, the meatloaf is relatively solid and can be sliced easily.  Trying to get the meatloaf out of the crock pot with this recipe was much more difficult.  It was soft and, as you can see from the picture on the right, no matter how much I tried, and even with the help of my roommate, I could not get the meatloaf to come out in one piece.

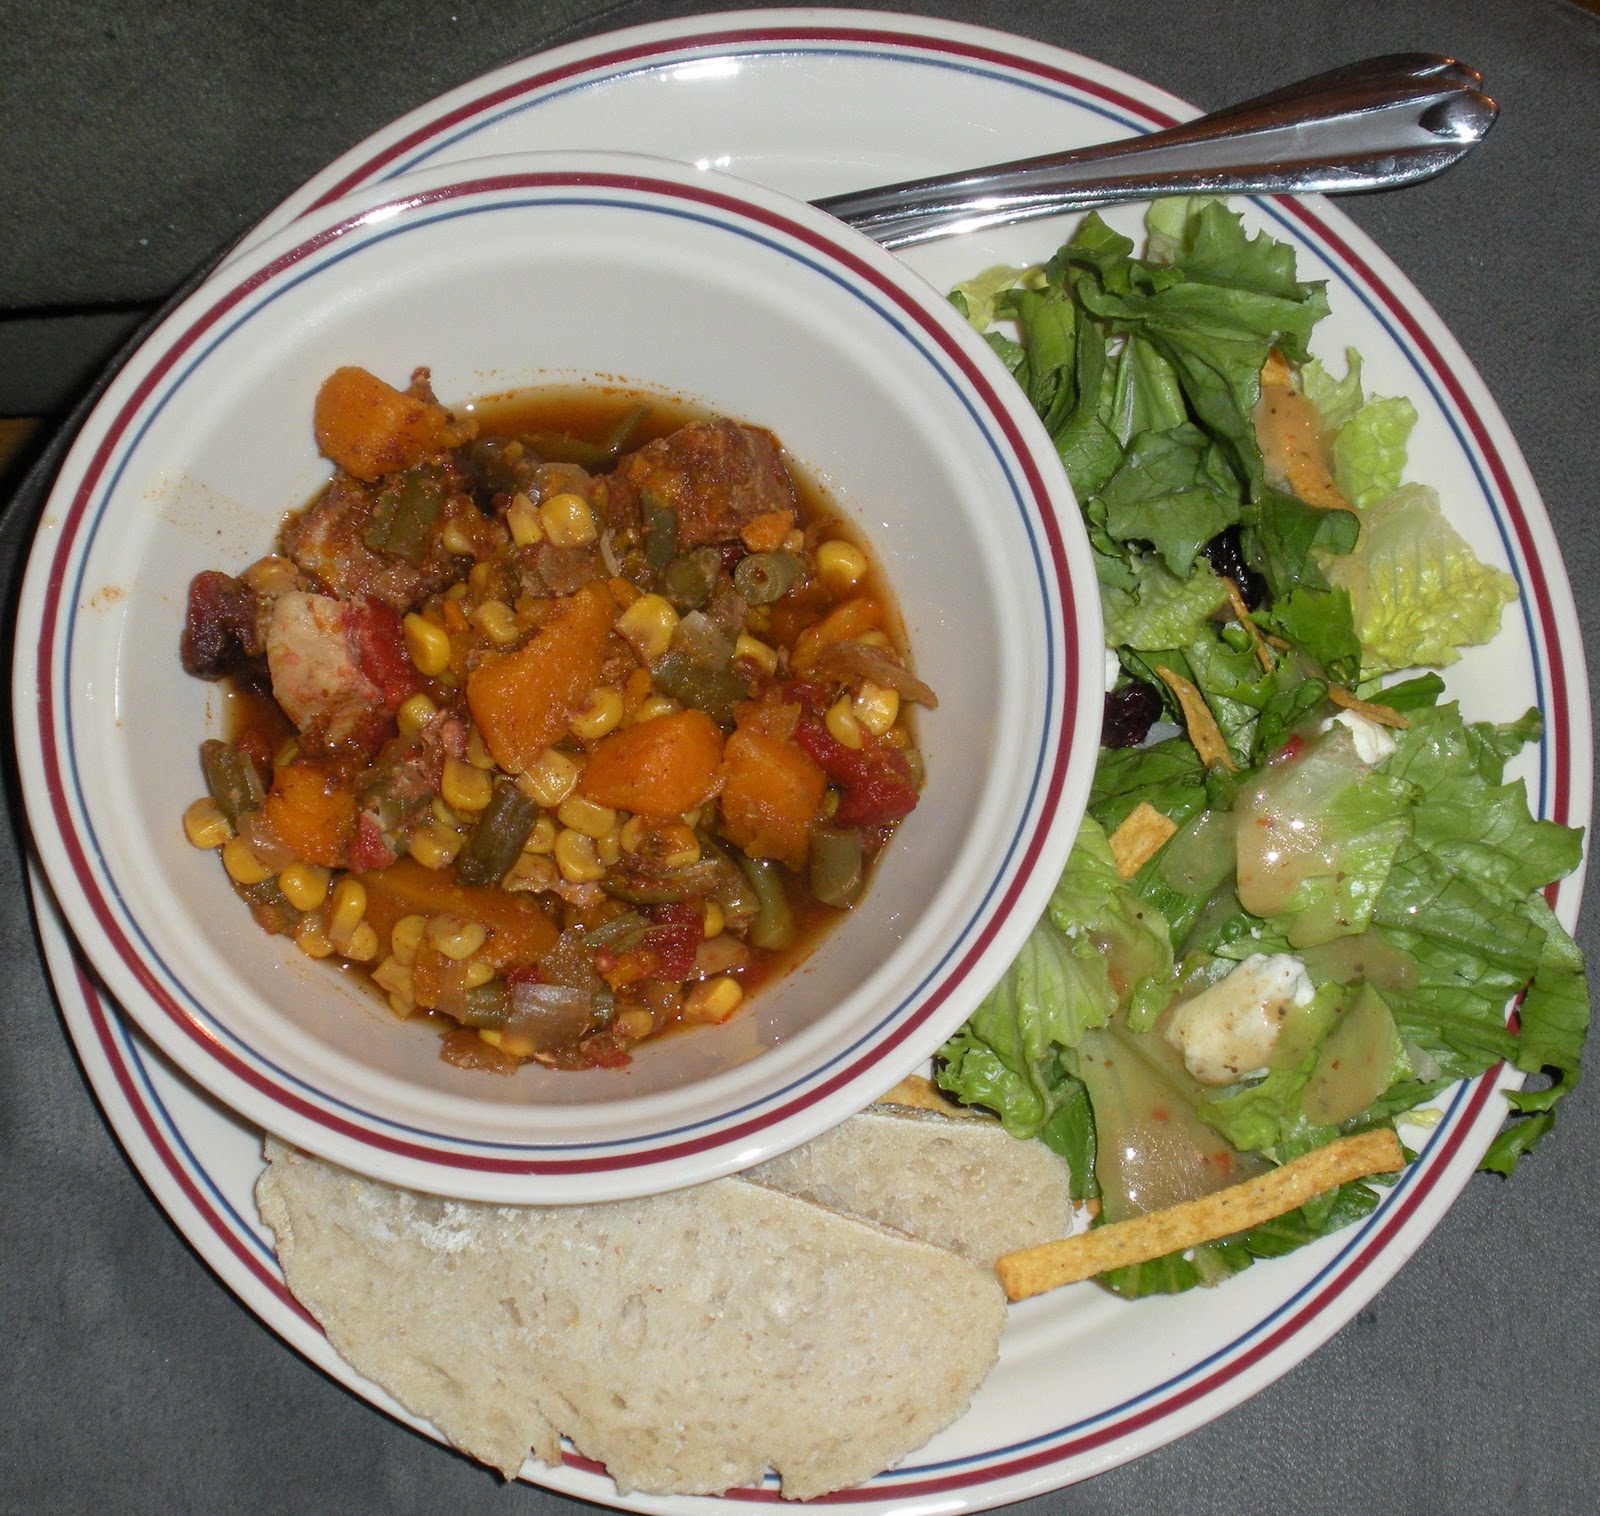
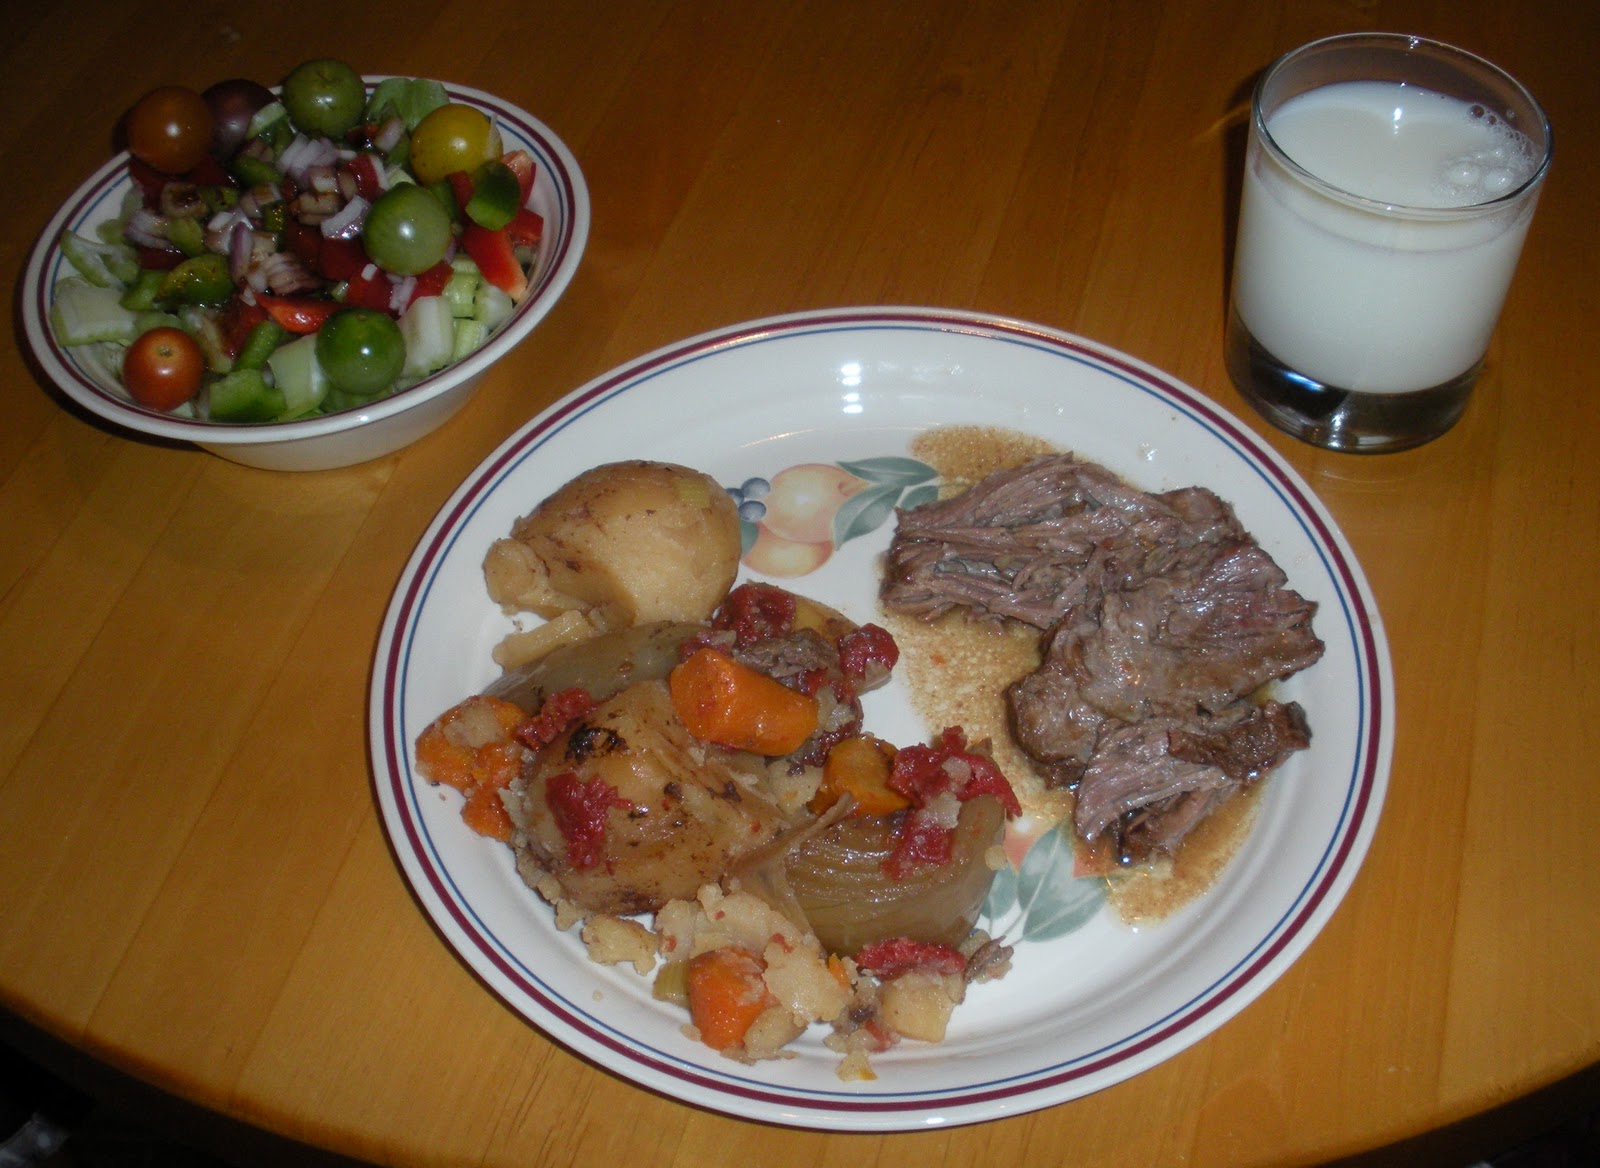
The cool thing about this recipe, however, was that I already had most of the ingredients: I was trying to use up the potatoes, and I had eggs, bread, ketchup, salt, pepper, brown sugar, and mustard already too (as those items are generally staples of any kitchen).  Thus, the only cost for the meals that I ate all that week was the ground beef.  I splurged to be sure to get the extra lean and paid $9.47 for approximately 2 lbs.  Even if I had needed to purchase the potatoes and had chosen to buy saltines, the total cost for this recipe was under $15.  The recipe says that it serves 6 to 8... I shared it with my roommate the first day (and had seconds because I was hungry) and had it four more times after that, so I got seven meals out of this (that's less than $2.25 per meal, not counting that I made a salad for myself each time too).  The meal is actually only about 400 calories per serving too.

However, I wasn't a big fan of this meatloaf recipe.  I like the idea of doing meatloaf over a bed of potatoes, and the potatoes were yummy.  This meatloaf was too mushy and too sweet for my taste.  Were I to make this recipe again, I'd just follow the meatloaf + potatoes idea, but use a different recipe (my mothers, perhaps?) for the meatloaf.

Tuesday, July 20, 2010

Why Slow Cooking?

For my post this week, I wanted to illustrate a bit why I decided to create this blog in the first place, but I promise that I'll be back to food blogging next week.

I hope everyone has already seen the greatness that is the PhD Comics by Jorge Cham.  He creates comics about life in graduate school, some that are scarily accurate.  He has several that demonstrate the difficulties of eating healthy in graduate school.

As you can see from the above comic (the easier to read original may be seen here), there are certain important characteristics of the "traditional" graduate student diet: caffeinated and either cheap or free.  Since the emphasis is especially on the cheap or free food, due to meagre graduate student stipends, often eating healthy is lost.  (For more of Jorge Cham's expert insight in this area, see the Law of Free Food and Ramen--which shows how to eat a balanced diet with ramen noodles.)

However, I've found the crock pot to be the ultimate solution to the cheap-food-not-being-healthy dilemma.  For an initial investment in the crock pot (a low investment too, you can get one of the fancy ones with timers and such--and I covet those for someday--but the one that I have is currently selling via Amazon for less than $20), you can make a week's worth of meals, not for less than you would spend on a week's worth of ramen noodles, but for a low cost that will fit in any graduate student budget.  With this blog, I just want to show that you can eat healthy as a graduate student!

Also, special thanks goes to my friend Ryan from my undergrad years who suggested the brilliant title for this blog.

Tuesday, July 13, 2010

Panama Pork Stew

Apologies for already being a day behind with my blog.  I meant to update last night, but was engrossed in translating A Millionaire's Dinner Party for my Latin class and it just slipped my mind.  Oh well, cenemus!

On May 27 I cooked a crock pot dinner, the Panama Pork Stew from the Crock Pot Incredibly Easy Recipes, for my roommate and one of our friends who was coming over for dinner.  I have to apologize because I completely forgot to take photos while I was assembling the meal, but you can see on the right basically what went into it.  The recipe calls for pork stew meat, cut into 1-inch cubes, but I was unable to find pork stew meat at my local grocery store.  I probably could have asked the butcher to cut some for me, but as a graduate student, time is precious and I did not want to wait, so I just got some boneless pork chops and cut it into the appropriate size myself.  (Plus, why pay someone else to cut it when I can do it myself?)

The other items in the stew are sweet potatoes, frozen corn, frozen green beans, onion, and canned diced tomatoes.  I always wonder a bit about some of these stew recipes because growing up, when my mother made stew, there was always a decent amount of broth (which could be soaked up with a piece of bread) and many of these recipes call for very little liquid.  This one only has the liquid from the undrained, canned tomatoes and 1/4 cup of water, plus any tiny bit of liquid that melts off the frozen corn and green beans.  The recipe says to combine the tomatoes, water, and spices (chili powder, salt, and ground coriander) in a bowl and then pour it over the pork which has been placed on top of the vegetables.  In my rush in the morning to get this done before heading to school, I didn't read the directions ahead and so just dumped all those things in the crock pot on top.  Now, in my defense, many crock pot stew recipes ask you to just put all the ingredients in and mix them together, so it was only reasonable that I would have expected this one to be the same instead of asking me to layer the ingredients.  So, to remedy my mistake, I just mixed everything together before cooking it on low.

This is what it looked like after cooking on low for 9 hours.

At the time the crock pot was finished, my roommate and our friend had not yet arrived for dinner, so I took some time to set out the plates, bowls, and utensils.  I had asked my roommate to pick up a baguette and to ask our friend to bring a salad to complete our meal.  So we had

sourdough bread

salad

and some white wine to complete the meal.

On the right you will find an image of what the final meal looked like.  As you can see, I was pleasantly surprised to see that there was more broth in the stew than I had expected.  Of course, there was nowhere near the amount of broth that is shown in the image in the cookbook, as you can see below.  I really enjoyed this stew, which is good because I had several more meals of it.  The recipe says that it makes 6 servings, which I think is almost accurate.  Our friend and I each had two servings, and if I recall correctly, I had at least 2 or 3 meals of this afterwards (so 7-8 servings total).  If I were to make this again, however, I would probably plan to add some more spice to it, or some hot sauce to just give it a kick.

I would probably estimate 200-230 calories per serving for this stew, so adding some sourdough bread (approx. 80 calories per 1 oz serving) and a salad makes for a light supper, perfect for a summer evening when you'd like something simple.

Monday, July 5, 2010

Classic Pot Roast

I love cookbooks. I am the low-risk type of person who would rather follow a recipe than experiment and have my dinner turn out horribly wrong. I am also a sucker for cookbooks with pictures, which is why I love the Crock Pot Incredibly Easy Recipes book that my brother gave me as a gift.

On May 20, I tried the "Classic Pot Roast" recipe from this book. However, I have a love-hate relationship with roasts done in the crock pot. The meat comes out so tender, but the fat on the roast, that would normally cook off when done in the oven, remains. But, of course I am always willing to try another roast, until I can figure out how to cook it better. So, because this recipe needed to cook for 8-10 hours, I got myself up early to begin before going to school.


Because this recipe began by browning the roast on both sides, I had some hope that perhaps some of the fat would get cooked off. (Apologies for the bad photo--I had needed to charge my camera battery, so all the morning photos from this day were taken on my cell phone camera.) Unfortunately, there was a large chunk of fat that remained, but I thought that I'd just see what happened in the crock pot.

I was smart, however, and I cut up all the vegetables the night before to cut down on prep time. I'm not always that smart and sometimes I have to frantically try to prep the crock pot and chop everything at the same time. But this time, it was easy to assemble the crock pot, adding:
potatoes,

carrots, onions, celery,

a can of diced tomatoes, and spices.

I try not to add too much salt to my cooking, so I chose to use low-sodium canned tomatoes and not to add salt to the recipe, even though it called for salt "to taste." I always figure that it the recipe really needs more salt, I can add it when I'm eating. Thus, the only spices I added were black pepper and dried oregano, before I poured some water over the roast ("enough water to cover bottom of Crock-Pot slow cooker by about 1/2 inch").

This is what the food in the crock pot looked like before I turned it on...

...and this is what it looked like after cooking for 10 hours.


I took first the vegetables out of the crock pot, and set them aside.  I would like to take this time to point out that although the colors of the vegetables at this point look kind of bland, they still look pretty yummy.

Then I took the roast out so it could be cut.  I was fortunate that the meat was so tender that the largest chunk of fat from the roast fell right off when I took it out of the crock pot.  Of course, since the fat came right off, having "browned" that side of the roast originally seemed at this point to be kind of a waste.  If I were to make this roast again, I might cut the bulk of the fat off the meat before beginning.
This is the chunk of fat that came off the crock pot.

Before serving, I had to make some gravy with the cooking liquid, by adding flour and thickening it over medium heat. 
I, however, had very little patience at that point so I was not really willing to really wait for the gravy to thicken.  So, I thickened it a little, before getting ready to serve.

Overall, I think this made a pretty healthy meal, adding salad and a glass of milk (for calcium!).  There might be a few more potatoes in this than the other vegetables, so I think that in order to make it a bit more healthy I would add some more of the carrots and celery and less onion, or maybe some other fresh vegetables that would go well with the roast, like mushrooms or green beans.

I love to compare the food that I cooked with the images from the crock pot cookbook because I'm convinced that not a single dish portrayed in the book was actually cooked in a crock pot.  Here, I would especially point out how the meat was cut in this image.  The roast cooked in the crock pot is so tender that it basically falls apart when you cut it, so you're not going to get nice, uniform slices like this.  Additionally, this image shows a lot of carrot, celery, and tomato which is not really in the actual proportions of those items to the potatoes and onions in the recipe.

Overall there were two complaints that I had about this recipe.  First is the complaint that I have about all roasts done in the crock pot, the fat does not cook off so it remains in the meat and you have to eat around it.  As you can see from the image on the right, there was quite a bit of fat left over at the end of my meal.  The second complaint was with the gravy, which I found just kind of blah.  I think the roast would have been better without it, maybe just adding a bit of extra pepper.

However, the great thing about making a roast in the crock pot is that it takes care of your meals for the week.  The recipe said that it made 6-8 servings and I think I was able to get 5 or 6 more meals out of the roast.  I found that the reheating process made me like the meat a little better.  I would reheat by using a small nonstick frying pan and just throw the meat in and let it cook for a bit, thus cooking off some of the extra fat.  Then I added a bit of the gravy to the pan, to heat it up and cook the meat in it a bit.  The vegetable mix I just heated in the microwave.  By making a salad first, then quickly heating up the main dish, I could put together a healthy dinner in less than 20 minutes, and we all know how valuable time is to a graduate student!