Saturday, October 2, 2010

Chicken Tagine

My mother got me a subscription to the Nutrition Action Healthletter, a short newsletter that comes every month and includes articles about what science is saying you need to be healthy, as well as critiquing some of the additives in food, the size of restaurant meals, etc.  Each moth there are also three healthy recipes around a theme.  September's theme was chicken and included a recipe for Chicken Tagine (follow the link for the recipe).  As I'm reading, I usually skim through the recipes without trying any of them, but the description for this said, "A tagine is an aromatic North African stew that's named after the heavy clay pot in which it's traditionally cooked."  That description just screams "crock pot recipe."

I decided to just follow the recipe as much as I could at the beginning, before throwing everything into the crock pot and letting it cook for 6-8 hours on low.  I tried to figure out what a good recommendation would be for cooking chicken, but everything I looked at only said what temperature the chicken should be at when cooked, not how long it would take.  Ultimately, I decided on 6-8 hours on low because most of the chicken recipes I've made in the past cook for that long.

Anyway, I started following the recipe by browning the chicken as suggested, before I added it to the crock pot.  I did use boneless, skinless chicken thighs as the recipe asked.  Though every time I use chicken thighs I realize that I don't like that cut of meat as much and should just use boneless, skinless chicken breasts for all of these recipes.  After transferring the meat to the crock pot, I sauteed the whole wheat flour, spices (tumeric, ground cumin, paprika, and cayenne), and minced garlic and added it to the crock pot on top of the chicken.

At this point I just started throwing in all of the ingredients.  I hadn't planned in advance very well, and was running out of time before I had to go to class.  Luckily, my fiance was in town and volunteered to help by cutting all the vegetables.  As you can see from the picture on the left, we added zucchini, chicken broth, and the stick of cinnamon first.

Then I added the tomatoes.  As you can see from the picture on the right, I screwed up and paid so little attention that I didn't notice my screw up until I opened the can of tomatoes.  The recipe calls for a can of diced tomatoes and these, clearly, are not diced.  However, I actually really enjoyed the way the stew came out in the end with the whole tomatoes and might repeat this mistake if I make the stew again.

At this point, I had to leave for class so I left my fiance to finish chopping the other vegetables.  However, if I had planned ahead, none of this would have been a problem because the night before I could've chopped all the vegetables, measured out the spices, and minced the garlic.  That way, in the morning, I would just have to brown the chicken, saute the spices and garlic, and assemble the crock pot.  My fiance added the final vegetables, the carrots and onion.  I asked him to take a picture of what the entire thing looked like assembled before cooking.


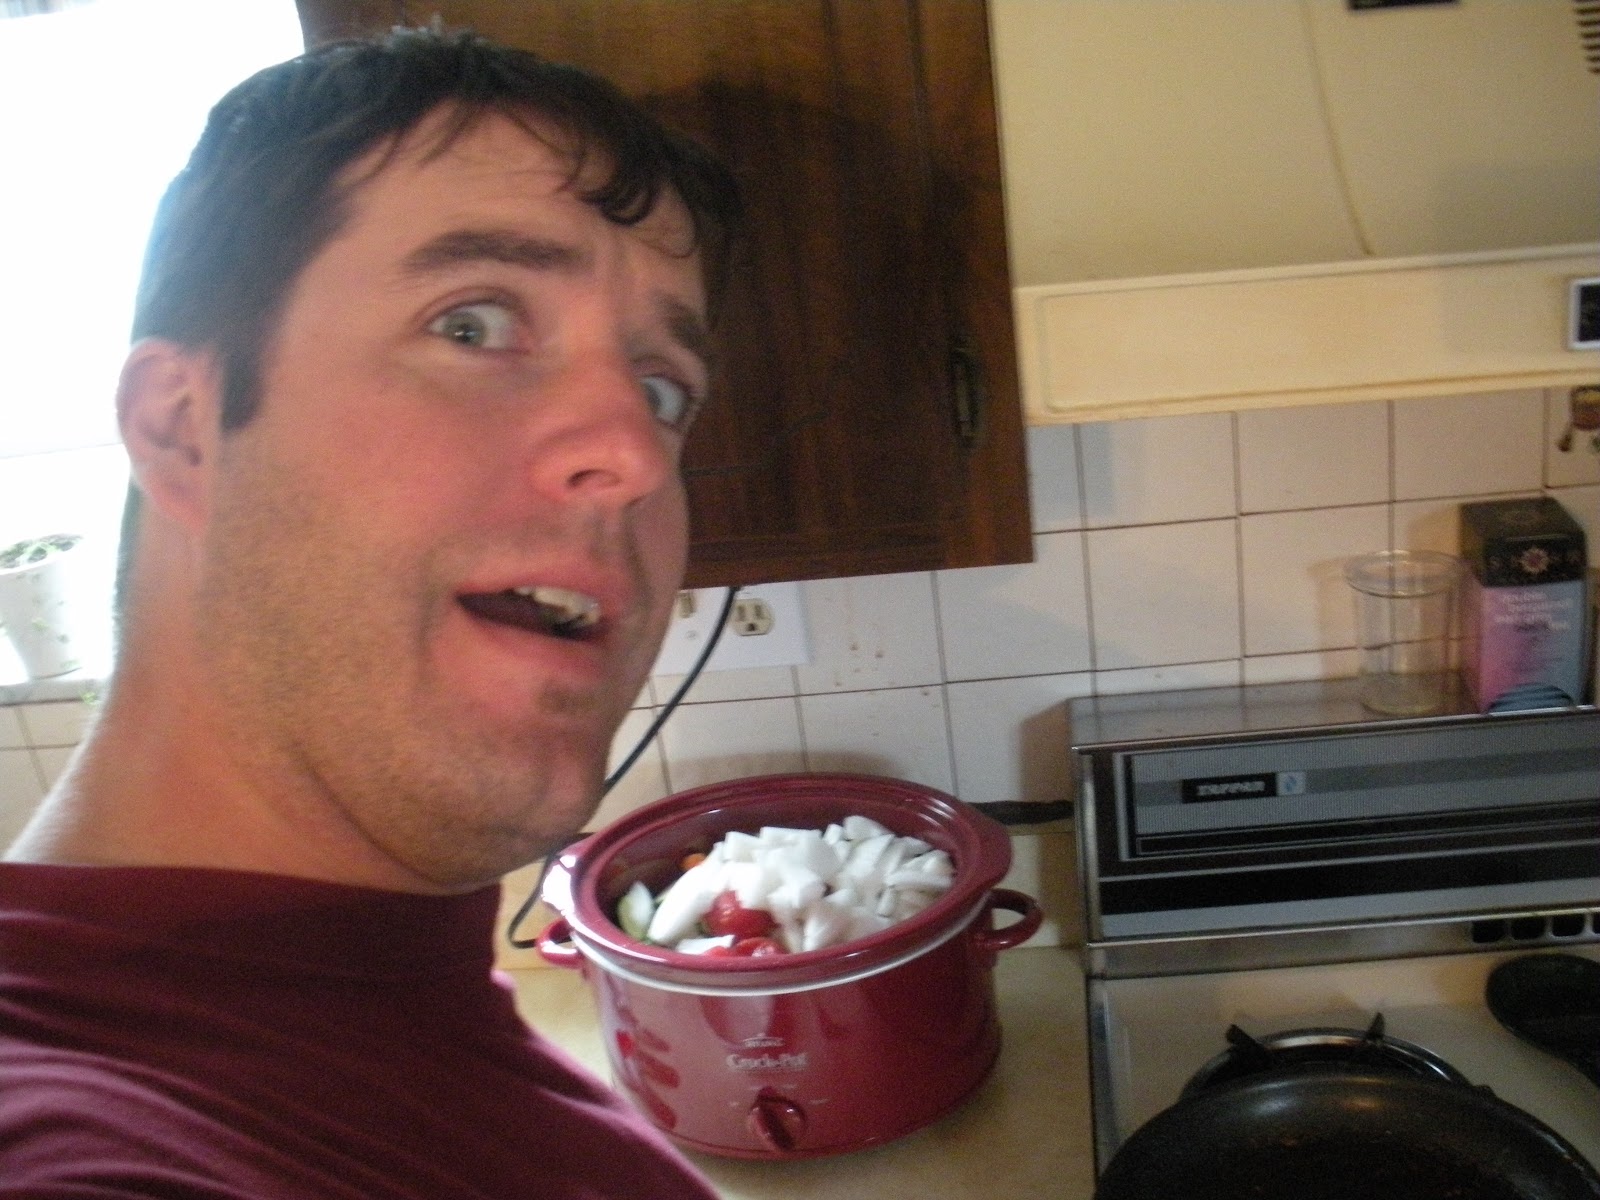
This is what happens when you ask a boy to take a picture of the assembled crock pot for your blog.

And this is what the stew looked like when it finished cooking.

Now, I just have to say that this stew was absolutely delicious.  My fiance actually said that it was one of the best dishes I've ever made in the crock pot.  I did not add any salt to it (the recipe says to season it with salt at the end), but we did serve it over couscous (though I couldn't find "whole wheat couscous" in my local grocery store).

The cool thing about the Nutrition Action Healthletter recipes is that they calculate the nutrition information for you and this dish only has 320 calories per serving (and I did get six servings out of this).  Now, I think in reality it was probably a little higher than that because I think we had more couscous in each dish than they think we should have, but even then there is no way that the dish went over 400 calories.  When getting the ingredients for this, I already had the EVOO, most of the spices (except cinnamon sticks), garlic, carrots, and an onion.  For the things I had to purchase, the total cost per serving comes out to just over $3.75, which is mostly that high because the couscous wasn't on sale.  Overall: as a graduate student I highly recommend this as a healthy, low-cost dish.

Sunday, September 26, 2010

Lentil and Red Pepper Soup

On August 16, I made a Lentil and Red Pepper Soup from the Not Your Mother's Slow Cooker Cookbook.  This soup was absolutely fabulous, but unfortunately my camera ran out of battery right after I took the first picture, so I only have two pictures for this recipe: the first one, and one I took later when I was having a leftover serving of the soup.

This recipe begins by cooking most of the ingredients in EVOO: onion, garlic, paprika, and red bell peppers.  The recipe suggests that you use fresh paprika, but I did not.  After everything has softened, you scrape the entire thing into the crock pot with a spatula, making sure that you scrape in the olive oil with the vegetables.  Then you simply add the lentils and water, and let the crock pot cook for 7 to 9 hours on low.

After the recipe has cooked for this period, you add salt and pepper (though, as you can probably guess if you've read my other posts, I did not add salt), some more EVOO, and either sherry or white wine vinegar.  I used white wine vinegar because I already had it from a previous recipe that I made.  Stir everything together, and serve.  Very easy.

The soup was delicious with a nice sweet taste to it.  I know that some people will prefer to add salt, but I felt like the soup was fine without it.  Now the caveat for this recipe is that you do not want to plan to have just the soup and expect it to be a meal.  This soup is very light, low-calorie, and not very filling, so pair it with a salad and a slice of bread.

But, you cannot beat the price on this for a grad student budget.  I'm looking at my receipts and I don't think that I spent more than $6.00 on the entire ingredients--and even then it would be less because I used one onion from Trader Joe's onion trio.  So basically, I only spent about $1.00 per serving (the recipe says it serves 4 to 6, I think I got about 5 servings out of this).  If you needed to get the vinegar, paprika, etc. it would have been more, obviously, but I don't think you'd go over $3.00 per serving even then.  It makes a very budget-friendly lunch or light dinner.

Sunday, September 19, 2010

Boston Baked Beans

Last weekend my fiance was in town, so I didn't have a chance to update this blog.  However, it may have actually worked out in the long run because I'm not sure I'll make any more crock pot meals this month, due to budget constrictions from eating out more while my fiance was visiting, and this will give me a chance to catch up on posting about meals that I made last month without getting ahead of myself.

As you may recall from my post about Summer Crock Pot Cooking, that week, on August 4, I made Boston Baked Beans from Not Your Mother's Slow Cooker Cookbook.  This recipe, according to the cookbook, "has the exact same ingredients as those recorded by Abigail Adams of Massachusetts, wife of one president and mother of another, in her own handwritten cookbook from the late 1700s." Because it takes 10-12 hours on low after you precook the beans on high for an hour and a half, I ended up getting up at 6:00 a.m. just to start the crock pot.  The beans (I used white navy beans; the recipe suggests either those or pea beans) had soaked overnight in the crock pot already, so when I got up I just drained them, put fresh water in, and turned it on for the hour and a half on high.

While the beans were precooking, I prepped the piece of salt pork belly, something that I've never cooked with before, which most definitely grossed me out a little bit.  When shopping for the necessary ingredients for this recipe, I had to ask for help because I had no idea where such things were even sold in the grocery store.  As you can see from the picture to the right, this had to simmer in boiling water for 10 minutes "to remove excess salt."

Then, the directions say to "dice" the salt pork.  As you can see from the picture to the left, I did not "dice" the salt pork.  This came from a combination of me being lazy, not wanting to touch the salt pork, tired because it was 6:00 a.m., and just not caring.  But this way, I was able to serve the beans without serving the salt pork with it.  Anyway, after prepping the salt pork, I had to wait until the beans finished precooking, so I lay down on the couch, set my watch to go off when the beans were done, and took a nap.

After my nap, I got up and drained the beans and added most of the other ingredients to the crock pot.  Because you need to add boiling water to this recipe as well, I put the six cups of water needed on the stove before adding the other ingredients.  As you might be able to see from the picture to the right, this included the salt pork, molasses, brown sugar, dry mustard, and salt and pepper--though I didn't add the extra salt, something you know I never do if you've been following this blog.

Finally, you add a whole onion that has been scored with a crisscross pattern, pushing it down into the center of the beans.  After I took this picture, actually, I decided that the onion wasn't pushed down into the beans enough and so I pushed it down further.

Perhaps I didn't push the onion down enough, however, because, as you can see from the picture to the right, the onion floated right up to the top.


This is what the crock pot looked like when I first turned it on.

Now, this step in the directions is, I suspect, where my problems started.  The recipe says, "Cover and cook on HIGH to bring to a boil, then reduce the heat to LOW and cook until the beans are soft, thick, and bubbling, 10 to 12 hours."  This may have partly been poor planning on my part, but when I got up at 6:00 a.m. to make the baked beans, I had planned to eat them that night for dinner.  I hadn't counted on the time needed to bring the crock pot "to a boil" and after 30-ish minutes, when it hadn't boiled yet, I turned to the internet to see how long it takes for a crock pot to boil on high.  This was not at all helpful.  The only things that google turned up were recipes, like this one, that call for turning the crock pot to high to get it to boil before turning it to low, or sites that said that liquids "do not boil" in the crock pot.  I even asked the question on Yahoo answers, which got me nothing but the same old "crock pot's don't boil" line.  Anyway, I think I left it on high for maybe like 45 minutes or so before turning it to low.


This is what it looked like at the end of cooking.

Now, baked beans are not the healthiest side dish.  I didn't calculate the calories in this recipe, but google tells me that "Boston baked beans" have about 200 calories in a half a cup.  To offset this, I served them with a vegetarian Bobby Flay dish, Grilled Portobello Mushrooms stacked with Fresh Spinach and Shaved Manchego Cheese.  This was absolutely delicious.  As you might be able to see from the picture, however, after cooking on low for 12 hours, my beans were still not "soft, thick, and bubbling."  The taste was fabulous, but the texture of the beans was all wrong for baked beans.  I turned the beans on high and let them cook that way for several more hours while I did some work and got ready for bed (and yes, the crock pot did "boil," but no I don't know how long it took to do that).  Right before going to bed I started putting the beans in plastic containers to go in the fridge, and saw that they still had the wrong texture.  So I left them on for a few more hours and my roommate put them in containers in the fridge before she went to bed several hours later.  Guess what!  The beans still were not the right texture.

Now, my roommate and I speculated about all this and came up with possible reasons why the beans didn't turn out correctly.  First, the beans could have been stale and I just didn't look closely enough when I first put them in to soak to notice this.  Second, it could have been the failure to get the crock pot to boil before I turned it on low.  Third, perhaps not adding the extra salt affected the recipe in some way.  And fourth, perhaps the beans just need to cook for a longer period of time.  If anyone is willing, I'd love someone else to try making this recipe to see how it works for you.

Saturday, September 4, 2010

Mexican Black Bean Bowl

When I started this blog I originally thought that updating it at the beginning of every week would be good.  However, as the semester has started, I've found that moving my updates to Saturday might be preferable.

On July 28, I made the "Mexican Black Bean Bowl," a soup from my favorite cookbook (as you can see by scanning some of my earlier recipes), the Crock Pot Incredibly Easy Recipes.  Although when I made this recipe I followed the instructions and cooked it for three to four hours on high, this could be one that you make in the morning before going to class/the library/your tiny cubicle in the dungeon of whatever building the university has put you in for the day and cook it instead on low.

The other cool thing about this recipe is that it didn't take that much prep work. You spray the crock pot with nonstick cooking spray, then just add all the ingredients.  The chicken goes in whole--I used boneless, skinless chicken breasts instead of the bone-in chicken thighs (with the skin removed) that the recipe calls for--and the only thing you have to cut is the onion.  The extra step that I had was defrosting the chicken broth that I had forgot to take out of the freezer the night before, as you can see from my picture on the right.  I tend to buy the boxes of broths because they're a better deal for the amount that you're getting and there's no risk of BPA leeching in from the can liner.  So, when I don't use it all for a recipe, I freeze whatever is left over for next time.  The only problem is that I then have to remember to take it out of the freezer in advance to let it defrost.

So other than the chicken and the onion, everything else in the recipe comes in a can or is frozen, so the prep work really just involves opening things.  You add a can of diced tomatoes with Mexican seasoning (which is what I used) or ones with green chilies if the store doesn't carry the ones with Mexican seasoning.

Then you add a can of black beans, which you should rinse and drain before adding them.  I took this picture specifically to show you what the coolest little tool is if you are cooking with a crock pot using canned ingredients (which I found a lot of the easy recipes call for): the can strainer.  I've had this since I worked at the now-defunct housewares store Lechters one summer while I was an undergraduate, meaning I've had this for about 10 years now.  There's different types you can buy, but all you really need is this, and it's only about $3.  I cannot emphasize enough how much this is a worthy investment because it makes draining and rinsing things from cans much easier.  I use it all the time for beans and I used to use it for canned tuna, until they started selling tuna in those cool one-serving packets.

Anyway, I digress.  After rinsing and draining and adding the black beans, you add some frozen corn.

Then chopped mild green chilies (also from a can) and the seasonings: chili powder and cumin.  As usual, the recipe also calls for a "teaspoon salt, or to taste" which I left out, figuring that if I really needed more salt, I could add it when I was eating.  Especially in the case of this recipe, where so many of the ingredients were coming from cans, I didn't really expect to need much more salt, even when I try to get the "no salt added" canned foods as much as possible.  Anyway, the recipe says nothing about "combining" or "stirring" the ingredients, but I thought that the way this looked was absurd and it needed to be stirred.


So this is the soup before it started cooking...

...and this is what it looked like after it finished.

Now, unfortunately with this recipe you're not finished once it's done cooking, but for second steps, this one is quite easy compared to some of the others I've had to do.  First you use a slotted spoon to take out the chicken, which was hanging out on the bottom.  Then the recipe asks for you to debone and chop the chicken.  Since I had used boneless, skinless chicken breasts, chopping it was quick and easy because chicken cooked in the crock part tends to just fall apart when you cut it.  When I first started using the crock pot, I would use bone-in chicken when recipes called for it, but I've since stopped because I prefer the ease of boneless, skinless.

After cutting the chicken, it gets added back and stirred in to the soup.

Now, this recipe says that it makes four servings, but I was able to get six out of it, and with the beans and chicken it's a pretty filling soup.  I would estimate that it's only about 300 calories per serving, so not too bad if you're trying to watch your figure within the grad student lifestyle.  The recipe suggests optional toppings which, of course, would add calories: sour cream, sliced avocado, shredded cheese, chopped cilantro, or fried tortilla strips.  I didn't add any of these, but thought that sour cream would be really nice with it, especially since I used hot chili powder in the recipe, giving my soup a nice kick.

As you can see from the pictures, I might almost be convinced that the soup that they used for the picture in the cookbook was actually made in a crock pot.  Since I already had chicken broth, frozen corn (from previous recipes) and the spices, the total cost of making this crock pot meal was less than $12, coming, in fact, to just over $1.85 per serving.  As for taste, I really enjoyed this soup, though it didn't necessarily wow me in any way.  But, it was still a quality, low-cost meal, that fit well within my grad student budget.

Thursday, August 26, 2010

No-Fuss Macaroni & Cheese

(Apologies for missing last week--it was the week of orientation and I was frantically trying to finish up some work that should have been done over the summer. ::sigh::)

For two weeks in July I made the "No-Fuss Macaroni & Cheese," from the Crock Pot Incredibly Easy Recipes.  This was definitely one of those recipes where my roommate and I questioned why one might want to make this in the crock pot in the first place because it doesn't cook all day (only takes about 2-3 hours) and it might just be faster if you made it on the stove.

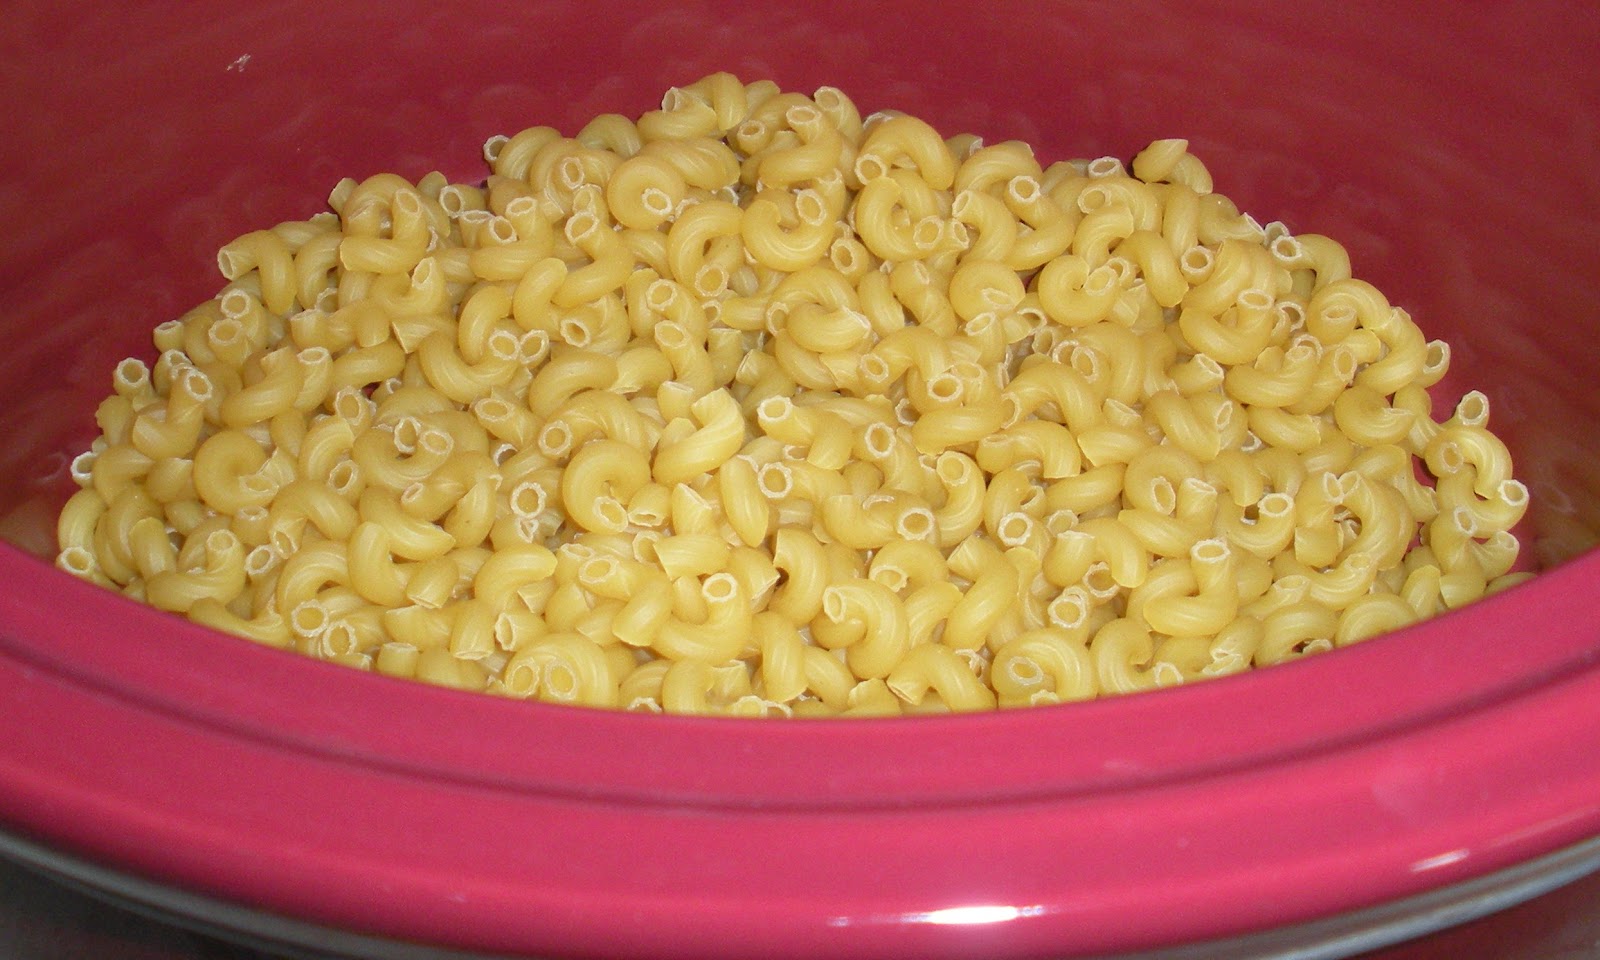
That being said, the recipe was pretty easy to put together.  It calls for elbow macaroni (uncooked), "light pasteurized processed cheese" (read: Velveeta, Cheddar cheese, salt and pepper (of course I did not add salt), and skim milk.  As I'm looking at the recipe and the image that I used here, I'm noticing that I clearly have a problem with reading comprehension.  The recipe says that the processed cheese should be cubed.  Does that look cubed to you?  Doesn't to me either.

Anyway, one of the easy things about this recipe is that it is one where you just combine everything in the crock pot in the beginning--there are no extra steps where you add something at the end and the only thing really is that it says that you should stir it after cooking for 20-30 minutes (on low).  The problem with this, however, is that makes it not as convenient for a graduate student as some of the other crock pot recipes.  First, the short cooking time makes it that you cannot just turn it on in the morning, go to classes or the library, and then come back at night to a nice dinner.  Second, the fact that you have to stir it part-way through makes it that you cannot even really leave for several hours, or turn it on and then lock yourself in your bedroom or study to do work until it's done.

Additionally, I found that I had to stir it more than one time in order to get all the pasta to cook evenly.  The first time that I made this, I stirred it only once after I let it cook for 30 minutes, and some of the pasta was still a little crunchy by the time it was finished cooking.  The second time I made it (the following week) I stirred every 30 minutes and that time it came out perfectly.  So, again, if you're going to have to hang around for three hours stirring the mac and cheese every 30 minutes, it's not one that I would recommend for the graduate student lifestyle.


Here is the crock pot once I stirred it the first time.

And here is the mac and cheese once it was done cooking.

Sorry for the blurriness of this picture, but you can see that this one almost actually looks like the picture provided in the cookbook--something that almost never happens!  The mac and cheese itself tasted pretty good, but the problem is with the servings.  The recipe says that it makes 6-8 servings, but that must be only if you're having it as a side dish because we only got 4-5 out of it when we ate it.  If I were to make this again, I'd make a double recipe.

Of course, I did make it again, mostly because I still had enough ingredients to make a second recipe.  The recipe calls for 1 cup (4 oz) of shredded mild Cheddar cheese, which I bought only for this recipe because it's not something that I use on a regular basis.  When you buy a bag of shredded cheese, they generally come in the 2-cup size, so it's perfect for making a double recipe.  Of course, this time I decided to make the mac and cheese more interesting, adding a can of Italian-style diced tomatoes and some fresh garlic.

This modified version of the mac and cheese was much more tasty, in my opinion.  The cool thing about the mac and cheese recipe is that you can be creative, adding ground beef or turkey, beans, or tomatoes to make it more interesting.  However, the mac and cheese recipe definitely counts as comfort food: I think I calculated it to be around 600-630 calories per serving.  For a boy, that might be okay.  For someone as petite as me, I can't take in that many calories in only one part of one meal!

However, it definitely fits into the "cheap food" category.  The pasta was on sale when I got it--10 for $10 of Barilla pasta--so it comes out to be less than $0.95 per serving (assuming one already has skim milk).  Even when I added the canned tomatoes ($0.73 for store brand), the final four servings were still less than $1.15 per serving.