Happy Saint Patrick's Day!
 I currently have corned beef cooking in the crock pot and the house smells amazing, but I first tried a Corned Beef and Cabbage recipe back on November 9 because we received a cabbage in our organic delivery. I tried the one from the Gourmet Slow Cooker cookbook, but the Not Your Mother's Slow Cooker Cookbook also has a version that is a bit different and I'll have to try that one at some point Right now, I'm trying Corned Beef with Molasses-Bourbon Glaze, which I plan to serve with roasted potatoes and cabbage and a banana rum cake--the dessert isn't very Irish, but I have bananas that I need to use up--all with black and tans, of course. And, it's all a surprise for my husband who has been off rock climbing in Kentucky for the last few days and has no idea what I'm planning for dinner tonight.
 But anyway, back to the Corned Beef and Cabbage. I picked the recipe in this cookbook originally because it was simpler in the sense that it had fewer ingredients (and hence fewer things that I needed to buy). Each recipe is simple in the sense that you just put everything in the crock pot and then cook it until it's done. As you can see from the pictures above and to the right, this recipe calls for corned beef, carrots, potatoes, onions, and cabbage.
 As you can also see from these pictures, even my 6-quart crock pot is a bit small for this recipe! If I were to make it again, I'd probably put in one less potato and maybe only one and a half onions or just one onion instead of two and not just because of the fit -- I'll explain more later.
 The only spices that you put in are a sprig of fresh thyme and a bay leaf. And, of course, some water and a cup of Irish beer. I chose to use Harp because I (shock!) don't really like Guinness (at least by itself, hence the black and tans) and whatever I purchased we'd have to drink eventually.
 Now, this was the first chance that I had to try out the cook by temperature option on the new slow cooker so was for sure going to try it out. Of course, the cookbook does not have a temperature that this should be cooked to, just a time (8 to 10 hours), but almost all the cookbooks have a temperature guide somewhere in the beginning that tells you what the safe cooking temperature for each type of meat is. (The Gourmet Slow Cooker actually doesn't, so I used the one in the Not Your Mother's Slow Cooker Cookbook.) From that, I set the temperature to 145°F (the temperature listed for beef cooked to "medium"). Apparently, the USDA guidelines say that corned beef should be cooked to a minimum if 145°F, so I'm glad I did that.
This is what the corned beef looked like right after I poured in the water and beer and right before I turned it on.

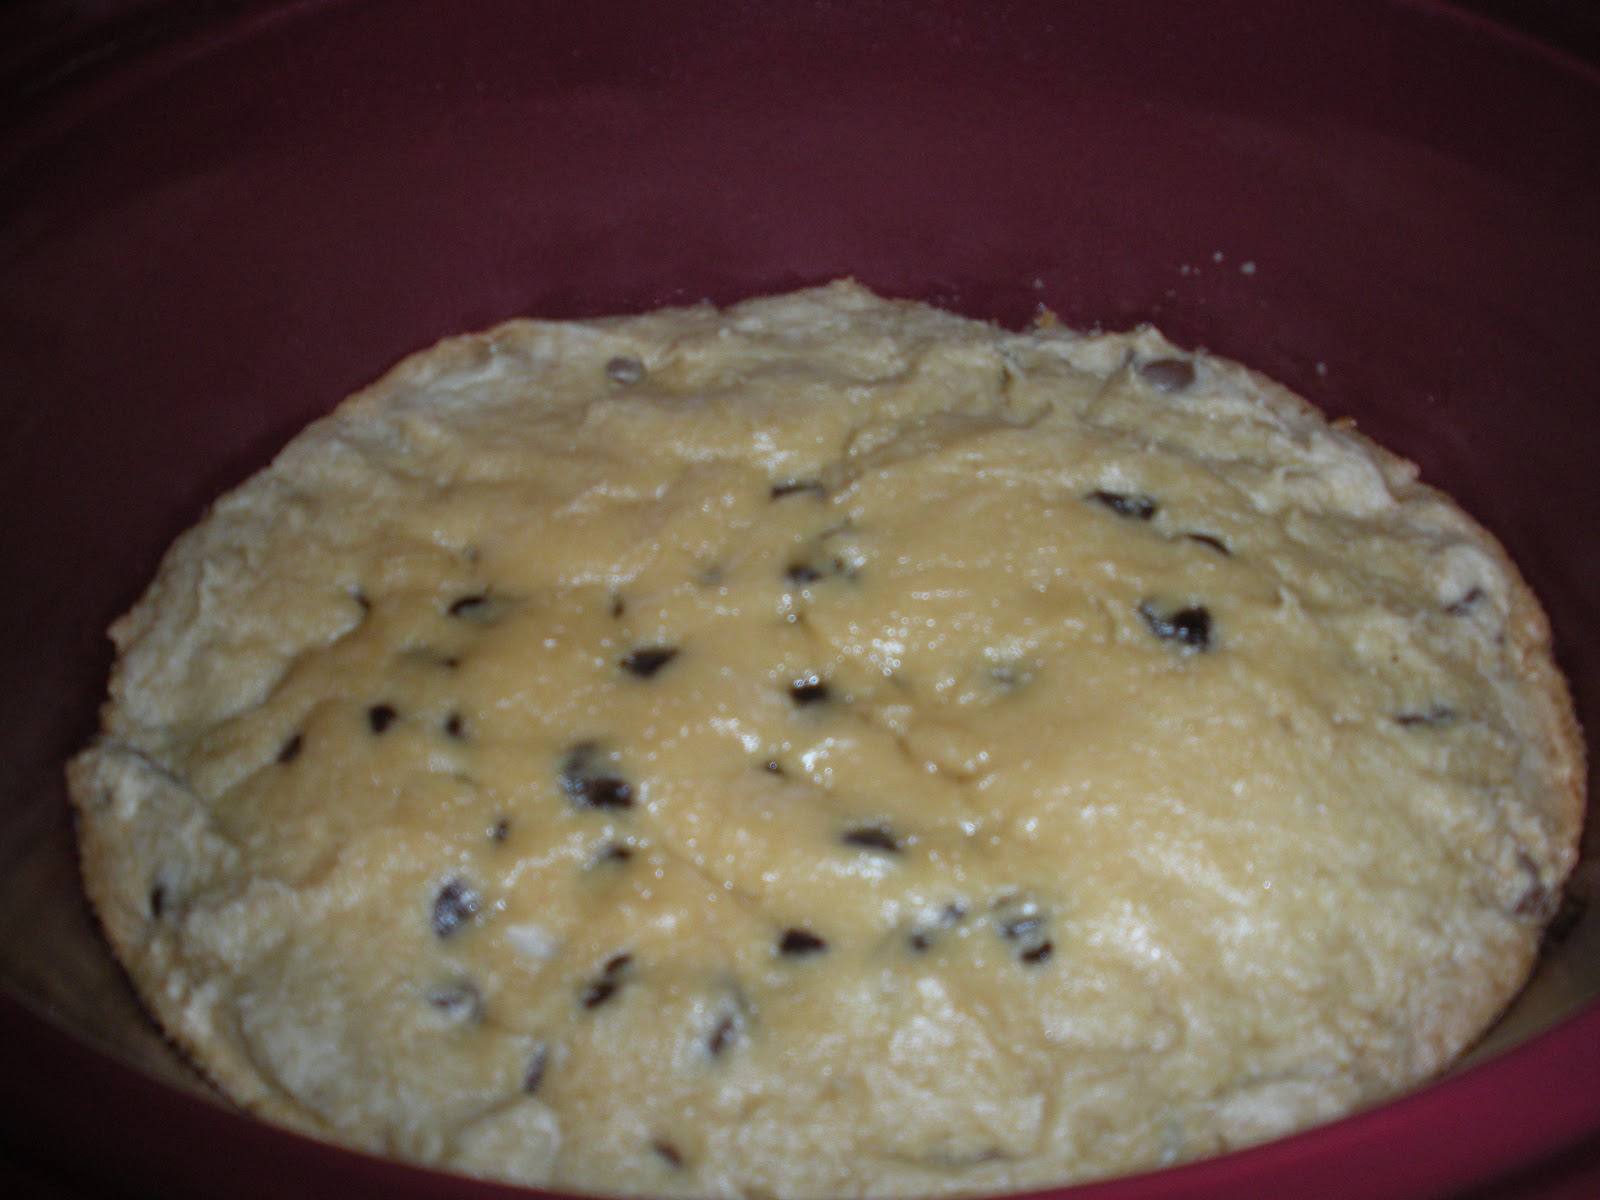
And this is what it looked like when it was done cooking.
 Now the interesting thing about cooking by temperature is that it takes a lot less time than the book says it should take! I think the meat was cooked in something like four hours... which of course freaked me out and so I left it on for another hour or so anyway. (I'm doing the corned beef I'm making today by time, not temperature, so we'll see if the texture is any different.) After it has finished cooking, you remove the thyme and bay leaf, take the beef out and cut it into slices and put it into bowls with the vegetables and some of the cooking liquid. This was pretty good, but the recipe comes out a little bland with only the bay leaf and sprig of thyme as spices. The one in the Not Your Mother's Slow Cooker Cookbook has you put in the seasoning packet that comes with the corned beef, cloves, pepper, brown sugar, and beer so I'm interested to try that one at some point to see what the taste difference is.
 Now, the picture of my dish in comparison to the picture from the cookbook isn't half bad. The only thing that is different is the cabbage loses most of its color in the crock pot -- something that I've seen in several dishes that I've made... which is why I'm convinced that none of the pictures in these cookbooks were actually cooked in a crock pot.
I'm not really sure that I can accurately calculate the calories per serving of this recipe. When I plug in the amounts, it shows 786 calories per serving, but there are several reasons why that's not accurate. First, the calories listed for meat are usually by weight as cooked, but I only know the weight before cooking. And I'm not about to go invest in a food scale just to figure this out. Also, the cookbook says that you get six servings out of this -- and that's pretty accurate. However, there is only one to one and a half slices of the meat in each serving--the dish is mostly the vegetables. Also, we ended up with two servings at the end that had no meat in them (which is why I think it's better to cut down on the number of potatoes and onions you put in). So, let's just say that this isn't the most healthy meal that you could make.
This is also not the cheapest dish to make in comparison to some of the others I've made. Beef brisket is expensive and that really adds to the total. I estimate that this dish comes out to about $5.45 per serving -- still not that bad (not counting the 2 veggie-only servings, of course). I already had the cabbage and carrots, but those are relatively cheap items so as I made it, it was $4.90 per serving for me. Still: corned beef and cabbage for about $5.00 per serving? I dare you to find that at an Irish pub anywhere.