I took some time off from this blog over the holidays. I didn't necessarily plan to do so, but I got really busy both because of the holidays in general and because I was trying to get the reading of the primary sources for my dissertation done before I left for the ASCH conference this past week. I'm committing myself to this blog for the next year more than I have in the past, but I think in general I need to cut back on my posting. I'm currently at a crucial point in my academic career: my funding for next year is contingent on my finishing my dissertation proposal by March or April of this year. In a way, I may end up relying even more on the crock pot to make dinners for myself and my husband during this time, especially with some of the quick and easy recipes, because my time is so valuable. But I'm planning to try to update only every other week, aiming for a Friday or Saturday update each time. So you can come back in two weeks for a new update.
-----------------------

My sister came to visit us this weekend, so I decided to make a crock pot dish. She also has a crock pot at home, but I'm not sure how much she uses it. Because she often works for such long hours, I think she'd really benefit from
the one I have with a timer, so she can make a dish in the morning and not worry about getting home at a specific time to switch it to warm. I decided what to make this week based on what was on sale at my local grocery store. I saw that boneless top round steaks were on sale, so I looked through my various crock pot cookbooks to find something to do with it. The best thing I found was several versions of "Swiss steak" in different cookbooks. There is one in the
Gourmet Slow Cooker Cookbook and one in the
Not Your Mother's Slow Cooker Cookbook, but the one I decided to use is in
101 Things to Do with a Slow Cooker because it was the easiest and simplest recipe and thus the best one for a grad student with limited time.

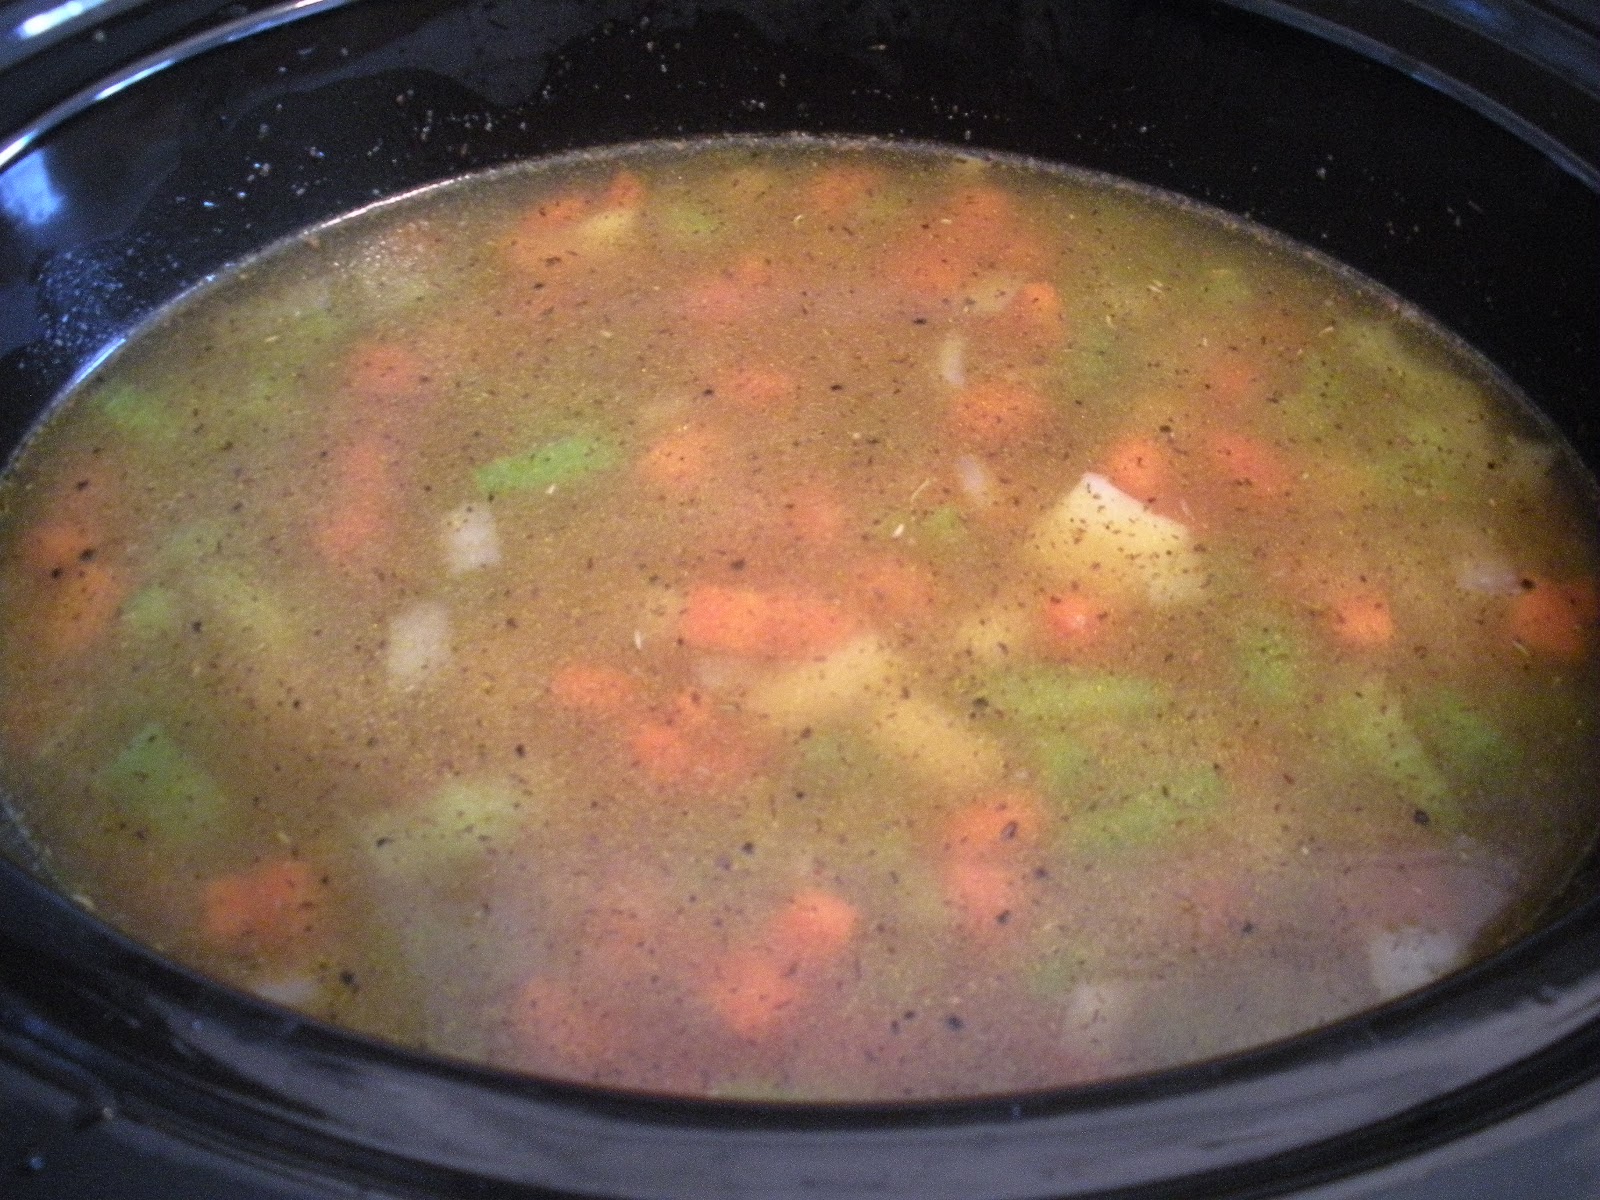
The only drawback with this is that it takes a long time to cook, so even though I went to bed kind of late because I was doing work, I had to get up by 8:00 a.m. to prepare the crock pot so it would be ready at dinner time. The good thing about this, though, is that it is really easy to prepare and there is no chopping of vegetables that you need to do ahead of time. You simply grease the slow cooker (I use cooking spray because that's the quickest way to do it) then throw in baby carrots. Sorry about none of the pictures lining up with the paragraphs that talk about them. I ended up with more pictures I wanted to include than I had paragraphs.

Then, you put the steak in. I cut off the fat that was on the edge because, as I'm sure I've said before, the fat on meats doesn't really cook off in the slow cooker like it does on the stove or in the oven so you really want to trim as much of it off as possible. I cut the steak into six pieces to make the dish six servings.

Then, you mix the sauce to pour over the steak. Again, this is very easy. You throw in one envelope of dry onion soup mix, one can of tomato sauce, and some water. Because my husband likes things spicy (in fact, he says that he finds most of my crock pot dishes too bland, though just wait until you hear about the Indian dish I made that was too spicy for him!), I added some crushed red pepper to the sauce. I would highly recommend the addition of the crushed red pepper. It doesn't make it spicy, but it definitely keeps it from being too bland. After mixing it all together, you just pour it over everything, then turn the crock pot on to cook on low for 8 to 10 hours.
This is what the dish looked like before I turned it on.
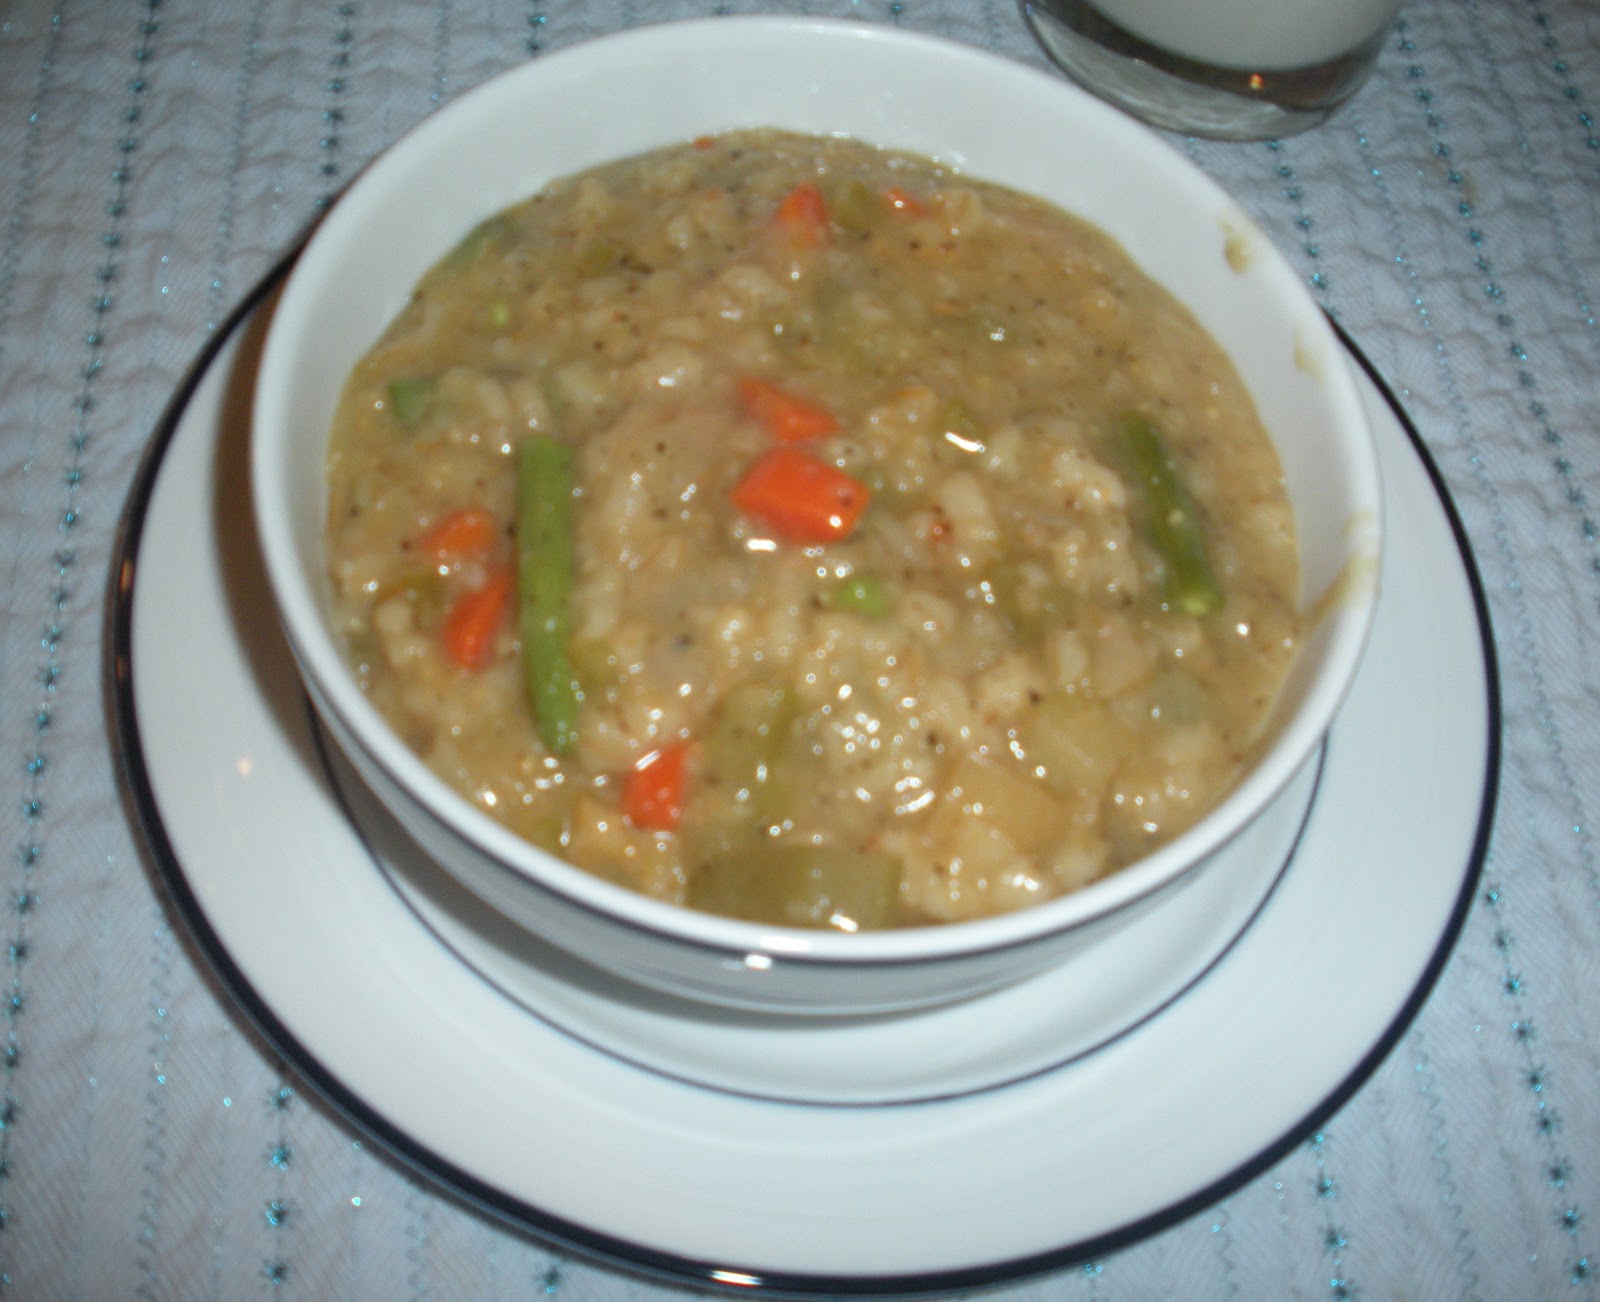
And this is what it looked like when it was finished cooking.

As you can see from the above picture, the steak cooks down a little bit in the crock pot so depending on how much you want to eat, you may want to go with the four servings instead of the three. The cool thing about the
101 Things to Do with a Slow Cooker cookbook is that each recipe gives serving suggestions. The "Easy Swiss Steak" says that you should serve it "over plain or garlic mashed potatoes" and "with a side of cucumber and onion marinated in vinegar." So, to go with this dish, I made garlic mashed potatoes via the Joy of Cooking, and adapted the marinated cucumber salad recipe from the same recipe. My marinated cucumber-onion side dish recipe is at the end of this post. This was really tasty. Both my sister and husband thought so. We served it with a salad as well and my sister and I felt full with the serving in the picture plus a salad. My husband, of course, went back for seconds on the meat and potatoes.
Overall, I'd recommend this dish for the grad student based on the number of calories and the cost per serving. The Swiss steak alone is 311 calories per serving if you cut it into six pieces like I did, or 466 calories per serving if you cut it into four pieces. The caveat with this calculation, however, is that the websites I use to count calories only have the steak listed by weight
as cooked, but I only know what the weight is
before cooking, so the actual calorie counts might be a bit lower. For six servings, if you have to buy
all the ingredients, it would be $1.92 per serving as I made it. If you don't add the crushed red pepper, it'd be $1.55 per serving, but the crushed red pepper is a spice that we normally have on hand so I didn't need to purchase that and I actually already had the dry onion soup mix because I had used it in a prior crock pot recipe so I only paid $1.38 per serving!
However, the overall calories and cost go up if you make the marinated cucumber-onion side dish and garlic mashed potatoes to go with it. For four servings you'd end up with 720 calories and for six servings you'd end up with 565 if you use the standard 2/3 cup serving of mashed potatoes. If you serve yourself a smaller serving of mashed potatoes, say 1/2 cup, you'd end up with a more manageable 665 calories for four servings and 510 calories for six servings. If you want more calories, you could be healthy and add a salad to it like we did (with balsamic vinaigrette dressing, a mixed green salad is between 100-150 calories, depending, of course, on what you put in the salad).
The total cost for this meal is a bit high if you don't already have the spices, butter, garlic, milk, etc. on hand as staples. It would be $6.70 per serving for four servings or $5.74 per serving for six servings. I have most of those staples on hand, however, so I only paid about $2.85 per serving for the six servings I made so it is a totally reasonable for the grad student, both in terms of calories and cost. If you're on your own, you could basically feed your dinners for the whole week for less than $20.00! Of course, since my husband always has seconds and I also fed my sister, the $20.00 will really only last 2 days for us. Still: it's an easy, yummy, inexpensive dish that is perfect for the grad student lifestyle and budget.
Marinated Cucumber-Onion Side Dish
1 large cucumber, peeled and cut into thin half-slices
1 large white onion, sliced into strips
1 cup white wine vinegar
8 tsp sugar
1 tsp dried dill, or to taste
1 tsp ground black pepper, or to taste
Place the cucumber and onion in a large bowl with a cover. In a separate small bowl, mix together the vinegar, sugar, dill and black pepper until the sugar is dissolved. Pour the mixture over the cucumber and onion and mix everything around. Place the cover on the bowl and refrigerate for at least one hour. I suggest shaking the covered bowl around every once in a while before you serve it to make sure that the vinegar mix is coating the cucumber and onion evenly.
Makes about 8 servings.

 At the end of last February, I made another vegetarian dish from the Vegetarian Slow Cooker cookbook: Red Beans and Greens. Even though I've noted several times that this cookbook has helpful suggestions on the side about which tell you which steps you can do ahead of time, since last year when I was only working on my dissertation prospectus and often not going to campus at all I just made the whole thing in the morning.
 In this case, though, because the beans needed to soak overnight, I followed their suggestions and made part of it the night before and stuck it in the fridge so I could just quickly throw everything together thing the morning and just turn on the crock pot.
 In this case, I cooked onions and celery in a skillet with some oil until they were soft, then added minced garlic, oregano, salt (except I skipped the salt), pepper, thyme, allspice, and bay leaves. After that cooked for about a minute, I added some of the broth and then put everything in a plastic container in the fridge for the night.
 The next morning when I got up, all I had to do was add the mixture from the fridge, the beans, and some more broth. It cooks on low for 8 to 10 hours or high for 4 to 5 hours, so I turned it on low and went off to campus.
 When I returned from school in the evening, I cooked the greens, steaming them until they were cooked, then tossing them with some olive oil, balsamic vinegar, and pepper.
 After cooking the greens, I made a mixture of paprika dissolved in boiling water that I stirred into the bean mixture and took out the bay leaves. Then I added the greens to the mixture, and ate!
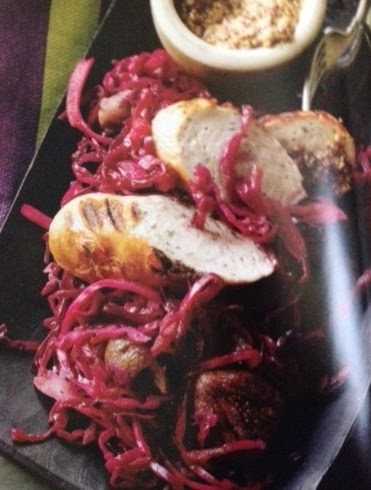
 This was really good and I noted on the recipe that I served it with rice. The recipe says that you should get 8 servings out of it, but I actually think I got less, maybe about 6, because even though the recipe doesn't say it, I think the author intended this to be a side dish. Regardless, it was really good and I would definitely make this again. And, if you compare the picture below, the picture almost actually looks like what I made (theirs is just less liquidy)!
 So, if you had served this as a side dish, it would be 174 calories per serving for the 8 servings. However as I served it, it was 232 calories per serving plus the rice, so about 382 calories. That plus a salad is a reasonable meal for me. It might not be for my husband, but for me that's fine. Now, I should note that I didn't use the full amount of greens that the recipe calls for, just what I had in my produce delivery, but I calculated the calories based on the recipe, not what I actually did. Now, for a side dish, this ends up being pretty pricey! $5.70 per serving for everything (but a more reasonable $2.38 per serving as I made it). Of course, if you get fewer servings out of the recipe, serving it as a main course instead, the price jumps to $7.84 per serving if you have to get everything. Of course, since I had many of the items on hand, it was only $3.17 per serving for me -- basically, I ended up getting a whole week's worth of dinners for around $20 -- and that will really stretch your stipend.