Friday, November 2, 2012

Red Beans and Greens

At the end of last February, I made another vegetarian dish from the Vegetarian Slow Cooker cookbook: Red Beans and Greens. Even though I've noted several times that this cookbook has helpful suggestions on the side about which tell you which steps you can do ahead of time, since last year when I was only working on my dissertation prospectus and often not going to campus at all I just made the whole thing in the morning.

In this case, though, because the beans needed to soak overnight, I followed their suggestions and made part of it the night before and stuck it in the fridge so I could just quickly throw everything together thing the morning and just turn on the crock pot.

In this case, I cooked onions and celery in a skillet with some oil until they were soft, then added minced garlic, oregano, salt (except I skipped the salt), pepper, thyme, allspice, and bay leaves. After that cooked for about a minute, I added some of the broth and then put everything in a plastic container in the fridge for the night.

The next morning when I got up, all I had to do was add the mixture from the fridge, the beans, and some more broth.  It cooks on low for 8 to 10 hours or high for 4 to 5 hours, so I turned it on low and went off to campus.

When I returned from school in the evening, I cooked the greens, steaming them until they were cooked, then tossing them with some olive oil, balsamic vinegar, and pepper.

This is what the beans looked like when they were done cooking,
before adding anything else.

After cooking the greens, I made a mixture of paprika dissolved in boiling water that I stirred into the bean mixture and took out the bay leaves. Then I added the greens to the mixture, and ate!

This was really good and I noted on the recipe that I served it with rice. The recipe says that you should get 8 servings out of it, but I actually think I got less, maybe about 6, because even though the recipe doesn't say it, I think the author intended this to be a side dish. Regardless, it was really good and I would definitely make this again. And, if you compare the picture below, the picture almost actually looks like what I made (theirs is just less liquidy)!

So, if you had served this as a side dish, it would be 174 calories per serving for the 8 servings. However as I served it, it was 232 calories per serving plus the rice, so about 382 calories. That plus a salad is a reasonable meal for me.  It might not be for my husband, but for me that's fine. Now, I should note that I didn't use the full amount of greens that the recipe calls for, just what I had in my produce delivery, but I calculated the calories based on the recipe, not what I actually did. Now, for a side dish, this ends up being pretty pricey! $5.70 per serving for everything (but a more reasonable $2.38 per serving as I made it). Of course, if you get fewer servings out of the recipe, serving it as a main course instead, the price jumps to $7.84 per serving if you have to get everything. Of course, since I had many of the items on hand, it was only $3.17 per serving for me -- basically, I ended up getting a whole week's worth of dinners for around $20 -- and that will really stretch your stipend.

Friday, October 5, 2012

Dum Phukt-Style Potatoes with Cauliflower

My husband doesn't like cauliflower. He always eats it when I cook with it or put it on our salad, but he doesn't like cauliflower. So, during spring break while he was away camping (and I was still here working on my dissertation prospectus), I made this Dum Phukt-Style Potatoes with Cauliflower from the Vegetarian Slow Cooker cookbook for myself.

Now, the directions say to "peel and cut potatoes in half lengthwise, then cut each half into 4 wedges," like in this picture, but I found this to be a little too long so after the first batch I ended up cutting each wedge in half. Since I was planning to serve it over rice, I wanted smaller pieces.

So, you brown the potatoes a bit in a skillet with olive oil then add them to the crock pot. Then you do the same with the cauliflower.

After that, you add the onions and let them cook, adding minced ginger root, minced garlic, salt (which I didn't use), pepper, a cinnamon stick, some whole cloves, and a couple bay leaves once the onions are soft. Then you also add half a cup of water.

You put everything in the crock pot and stir carefully to combine everything. Although the Vegetarian Slow Cooker cookbook normally tells you that you can do some of the steps ahead of time and refrigerate whatever you've made until you're ready to cook, this one does not have that suggestion.  I guess they don't recommend making anything ahead of time, though obviously you could cut everything the night before so you just have to do the cooking in the morning.

Interestingly, this recipe cooks with a large piece of parchment paper over the mixture to catch the moisture (see image below too). It cooks like this on low for 8 hours or high for 4 hours, basically until the potatoes are cooked through.

This is what the parchment paper looks like after cooking.

Now, while the potatoes, cauliflower, and onions are cooking in the crock pot, you make the yogurt sauce, combining yogurt (this recipe said full-fat, but I used non-fat anyway), curry powder, and "long red chile peppers, seeded and diced." I had trouble finding red chile peppers in my grocery store, but a quick google search (thank God for smart phones) told me that I can substitute jalapenos or serrano peppers for the red chiles. I went for the serrano peppers which made the meal really spicy (yum)!

This is what the combined yogurt sauce looks like.

Once the potato-cauliflower-onion mix is done cooking, you carefully remove the parchment paper so the water doesn't get into the mix. You take out the whole spices (cinnamon, cloves, and bay leaves -- though I couldn't find all the cloves so I just left them in there and discovered them as I ate it), then you add the yogurt mix and stir everything together carefully and cook it all on high for 10 more minutes.

This is what it looks like when everything is done.

Now as I mentioned above, I served this over rice and it was AMAZING.  I really liked it and when my husband got back I fed it to him without pointing out the cauliflower and he even liked it! Now the recipe says that it makes 4 to 6 servings and I remember this not lasting as long as I had thought it would, but I don't remember exactly how many servings I got out of it. So, calorie-wise (without the rice) it'd be about 262 calories per serving for 4 servings and 174 calories for 6 servings (with the rice, that'd be about 411 and 324 -- a totally reasonable meal for someone like me if you add a salad). In terms of cost, it's a little bit pricey per serving. It's still under $10 per serving, but if you have to buy everything it would be $8.83 per serving for 4 servings and $5.89 per serving for 6 servings not counting the rice. Of course rice isn't all that pricey so it would only be $9.17 and $6.12, respectively. Of course, I picked this recipe because we had received a cauliflower in our produce delivery and I already had most of the other items (I had run out of onions and potatoes though, and didn't already have a couple of the spices), so for me it was $3.45 per serving for 4 servings and $2.30 per serving for 6 servings. Even though I don't remember how many servings I got, either one of those is totally reasonable for several dinners and/or lunches without using up too much student loan money.

Friday, August 24, 2012

Miso-Spiked Vegetable Soup with Barley

In the beginning of February I tried out this Miso-Spiked Vegetable Soup with Barley from the Vegetarian Slow Cooker cookbook. This involved sending my husband to the international grocery store that I had just discovered (not to far from me either) to find miso because I couldn't find it on my regular shopping trip. So he brought back a giant tub of miso, but if you have to get a giant tub like we did, there are tons of things you can add miso to, as the August 2012 issue of Cooking Light pointed out.

Now, I don't know if I've mentioned this already, but my sister got me these awesome prep bowls (see image above) so now I can be like those chefs on TV who have all their ingredients already cut up when they make the recipe. Anyway, you start out this recipe by cooking onions, carrots, and celery in a skillet with some oil, adding some thyme and pepper after its been softened.

Then you add the barley and some vegetable broth. Now I think I mentioned this before, but one of the cool things about this cookbook is that it tells you what steps you can make ahead and refrigerate. So you could make the recipe up to this point the night before and then put it in the fridge overnight and cook the soup in the morning. The cookbook does note, however, that if you do that you're going to want to add some extra broth in the morning because a lot of it will have been absorbed by the barley.

Anyway, you add the vegetable-barley mixture to the crock pot. I adapted this recipe at this point a little, adding a cut up potato (see image below).  My husband had said that if we were going to have a vegetarian soup for dinner, he needed it to have some more substance to it, hence the potato.

You add the rest of the broth to the crock pot and then cook it on low for 8 hours or high for 4 hours. After it's done cooking, you stir in the green beans and miso and cook for fifteen more minutes, stirring in parsley at the end. The book also suggests you garnish it with freshly grated Parmesan, but I skipped both the parsley and the Parmesan.

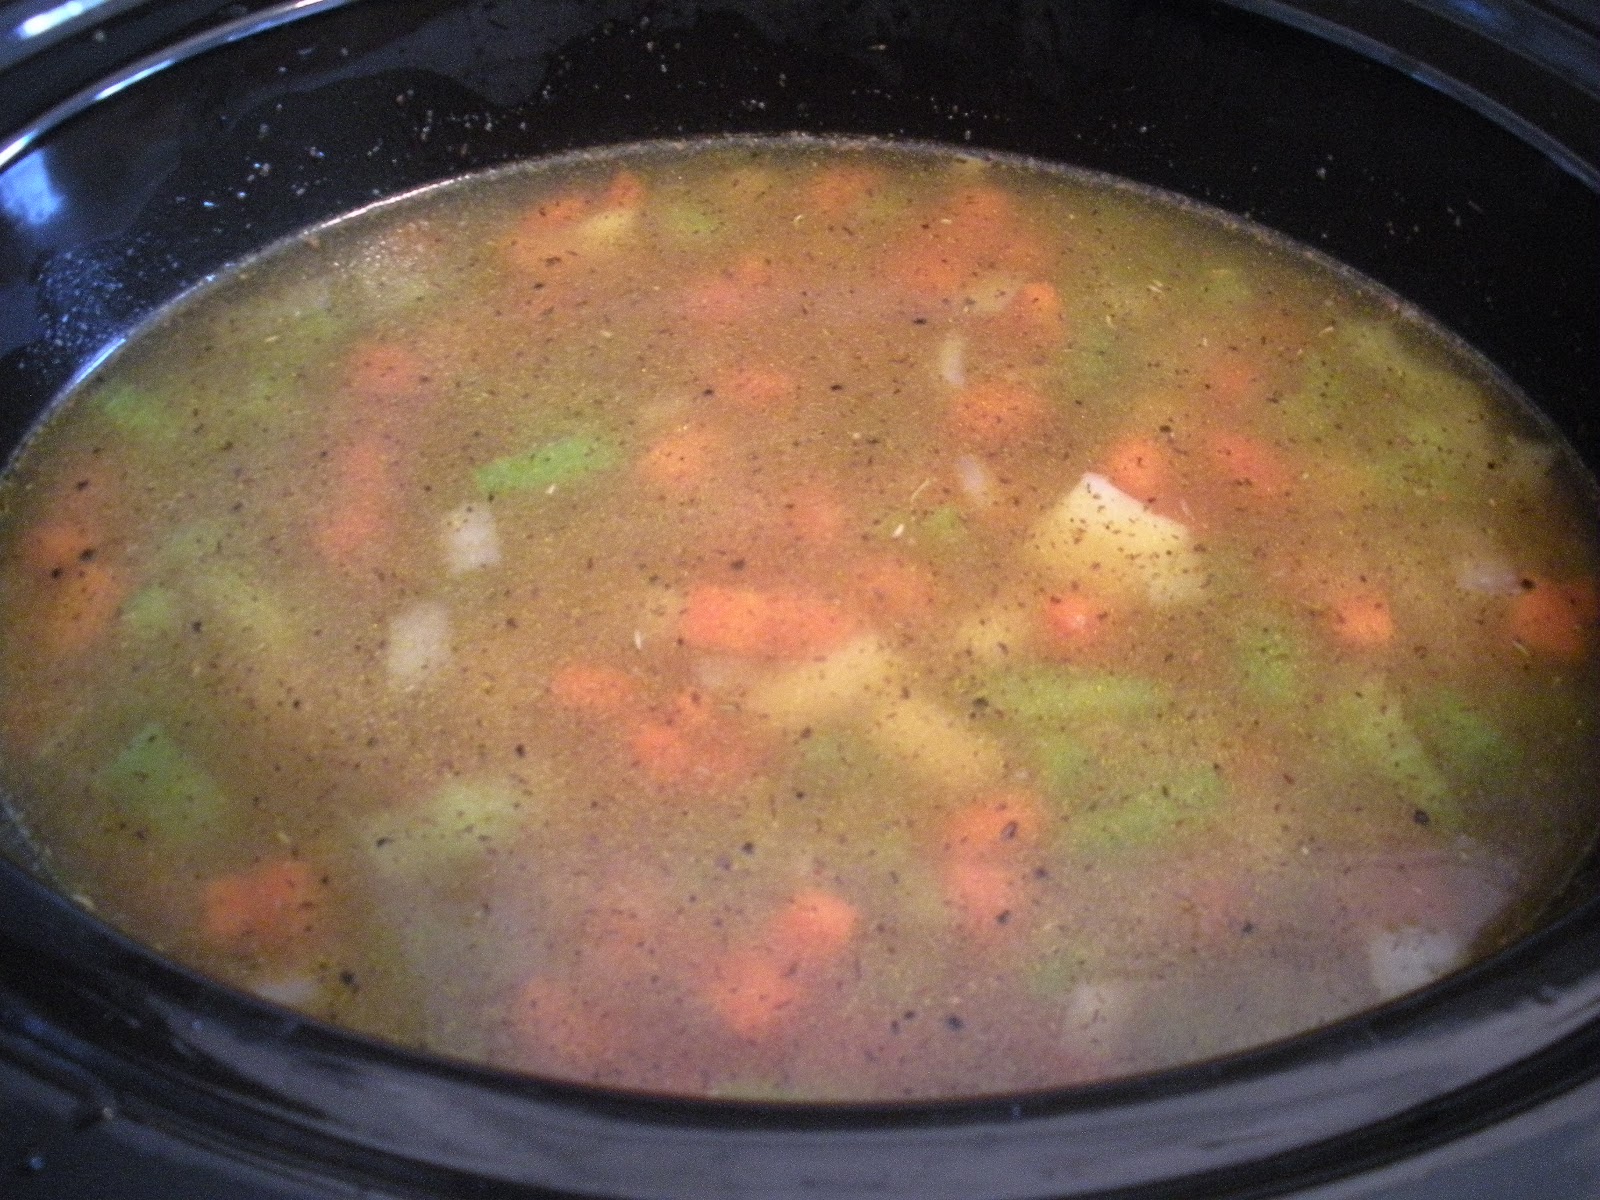
This is what it looks like with the broth when you turn it on.

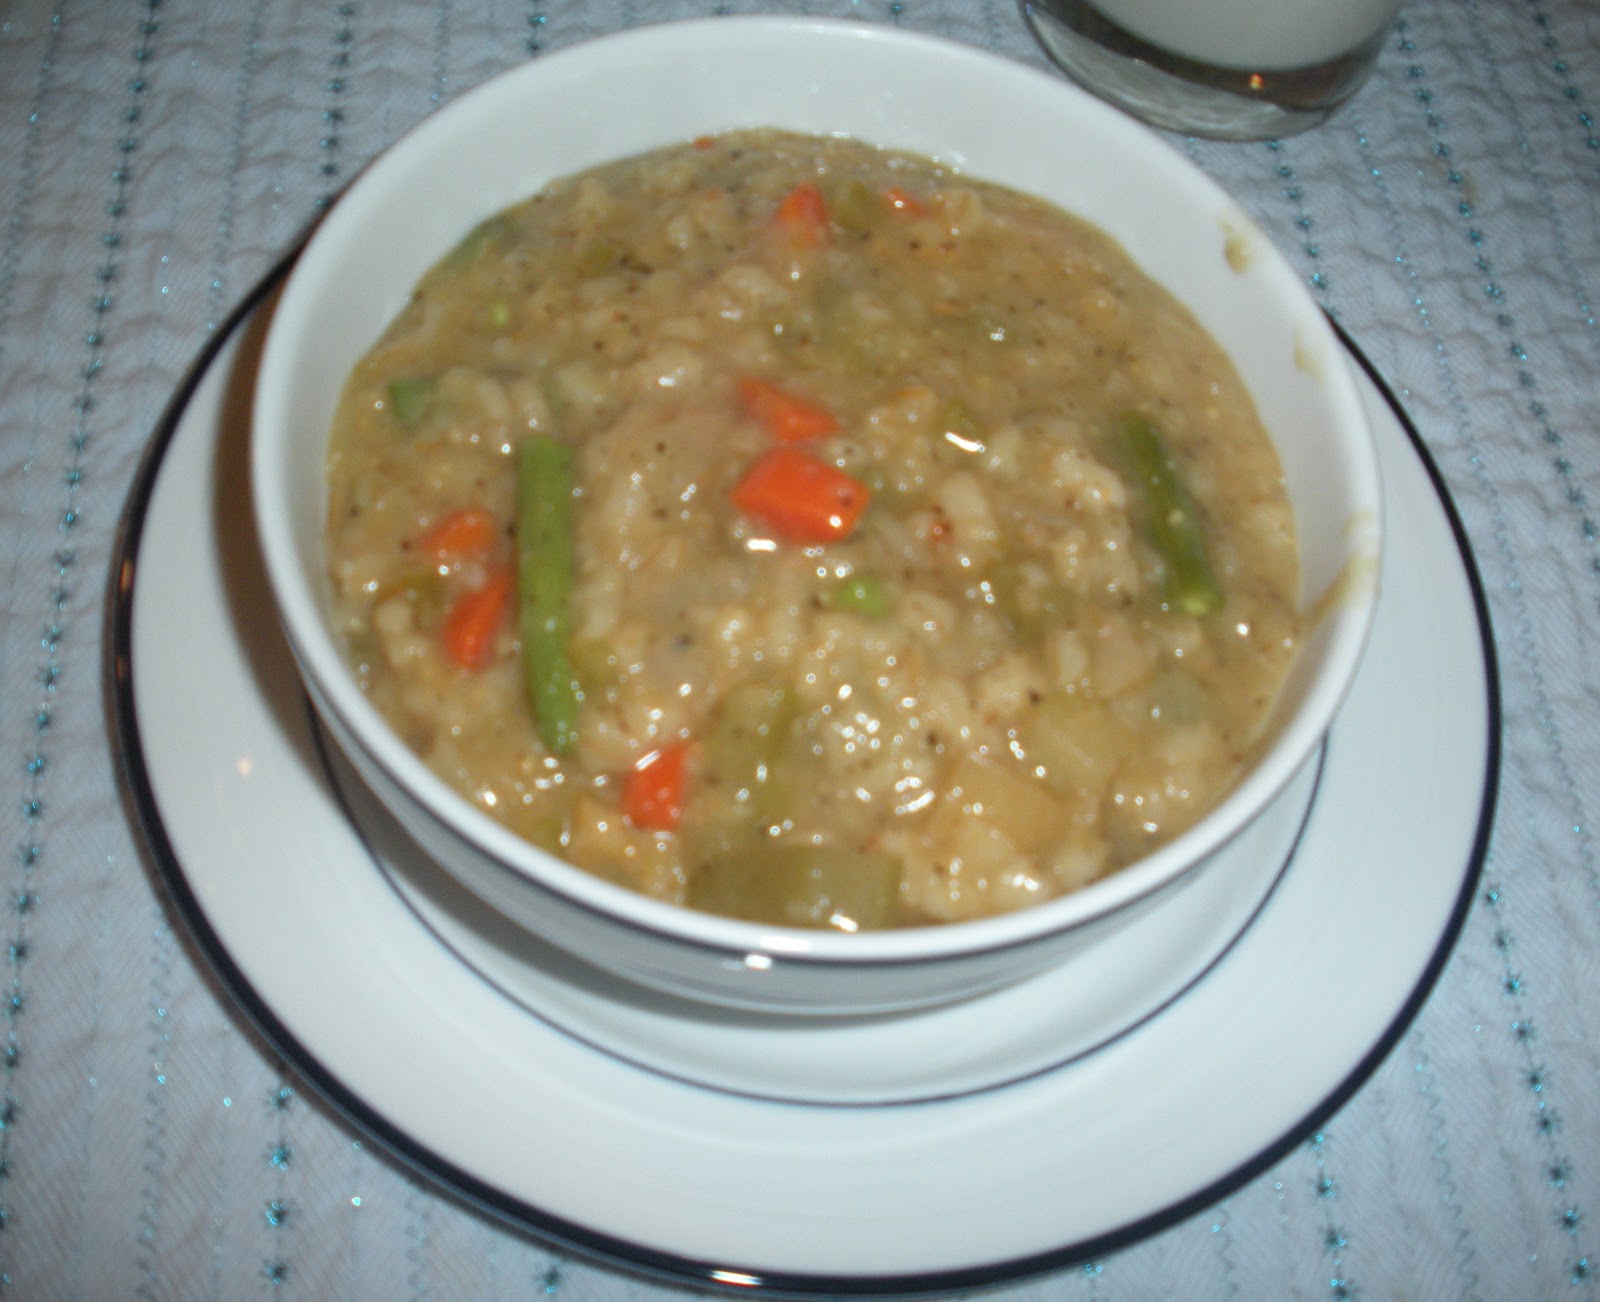
This is what it looks like when it's done cooking (with the green beans and miso).

Now, I've always had trouble cooking with barley in the crock pot because it basically absorbs all of the broth and you end up with mush. I wrote in the cookbook that it "turns out mushy and quickly loses its soup-like consistency." I did note that it "tastes okay," but isn't "very yummy looking." This was one of the recipes that we didn't bother finishing and just threw it out eventually. But, I think it could have been better if you made it differently (see below).

As you can see in the picture to the left, I'm convinced that whoever made the soup in this picture did not follow this recipe and/or did not even make the soup in a crock pot. There was a whole discussion in this crock pot online community about using grains in the crock pot and many people recommended adding them toward the end of cooking so they don't absorb so much of the liquid. Someone specifically said that whole (hulled) barley is best for staying firmer. I used pearled barley because that is what I already had on hand. So if I were to try this recipe again, I'd probably (a) use hulled barley or rice and (b) cook it separately and then stir it in with the green beans and miso.

Before I give you all the calculations, I left out the parsley and the Parmesan cheese because I didn't use them. Without the cheese especially, this soup is super light, even with the potato added, 190 calories for the six servings the book says you should get and 142 servings for the eight servings I think you'd actually get (without the potato, it'd be 147 and 110 calories). So this is a soup that you'd definitely want to pair with something more substantial, or make it a side dish to whatever your main meal is. If you had to purchase everything, including the potato, it'd be $5.76 per serving for the six servings and $4.32 for eight ($5.27 and $3.95 without the potato). Although that's not too bad in terms of cost, it's definitely on the higher end of the things that I've cooked in the crock pot. Of course, part of the reason I chose this recipe (as usual) is because I had most of the things I needed.  I got green beans in my produce delivery and already had the olive oil, carrots, spices, barley, and potato. So for the other ingredients that I needed, it ended up being $2.73 per serving for six servings and $2.04 for eight -- a little more friendly to my budget!

Saturday, August 18, 2012

Braised Red Cabbage with Apples and Chestnuts

So... I'm back! The food in France was amazing. There was also a fresh produce stand right next to my apartment building and one block down there was a market every Sunday with fresh produce, meats, cheeses, etc.  The cheese... just wow.  While my mother was there she actually was mad about how great the produce and other things were in France... because why can't we have nice produce in the USA too? Anyway, in honor of the fact that I just spent five weeks in France, I decided to post about a recipe from my French Slow Cooker cookbook. I made this back this January as a side dish to a pork chop recipe and I've spent 30 or so minutes looking through all my cookbooks and recipe cards and I just cannot figure out what recipe I used for the pork chops. (And now, of course, my husbands going to be mad when he gets home because every single cookbook I own is on the kitchen table...)

And, on a side note, this cookbook has a recipe for Ginger Crème Brûlée that's made partly in the slow cooker -- I'd totally try it out right now except that I don't have any ramekins.

So, the Braised Red Cabbage with Apples and Chestnuts is a super easy side dish to make. You take cabbage and shred it, then put it in the slow cooker with almost all the other ingredients: chopped apple, apple cider vinegar, vegetable oil, sugar, a bay leaf, and salt and pepper (I didn't bother with salt). This cooks on low for 5 to 6 hours, but unlike most slow cooker recipes (which say to never never never open the lid), you stir the cabbage mixture occasionally. Could you make it without being around to stir?  Probably.

So this is what it looks like before it cooks (sorry about the blurry photo).

After it's done cooking, you add peeled cooked chestnuts. Now I should note that these were very difficult to find.  I think I ended up calling around until I found a grocery store that carried them. Anyway, you stir in the chestnuts and then cook it for 30 more minutes on low.

This is what it looks like when it's done.

Now, this was yummy.  I mean, really yummy. It's very sweet, so be prepared for that, but the soft cabbage with the slightly harder chestnuts and who doesn't like chestnuts around the holidays anyway? But, here's the thing about this recipe: we were eating this as a side dish forever. It says that it makes eight servings and I honestly don't remember how long we ate it, but we got at least double that. And it got really old as you got to the end -- the sweetness was awesome the first time, but a little too much on the seventh. So I would recommend making a half recipe, and then just put the other half of the cabbage in your salads for the week, or something like that. Or you could try and put less sugar in, like 1 tbsp instead of 2, and that might make it less sweet.

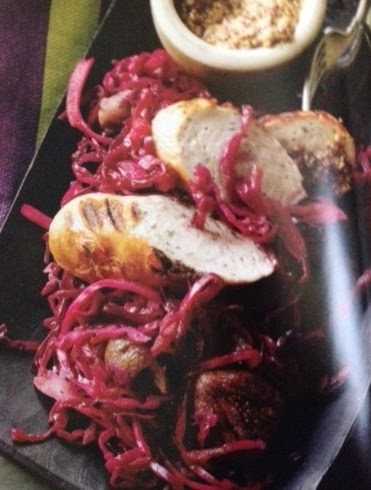
This is the picture from the cookbook. Not that far off, though their cabbage
looks a little more pink, while mine ended up a little more purple.

So part of the reason that I had chosen to make this was because we got apples in our produce delivery and almost everything else is a staple so I only had to buy the cabbage and the chestnuts.  So as I purchased it, it comes out to a whopping $0.81 (if you believe them on how many servings you get) or even $0.41 (if you eat it like my husband and I did). If you did have to buy everything (but the vegetable oil, sugar, and spices are staples, so unless you happened to run out of all of those at the same time, I don't know anyone who would have to buy everything), it would be $3.02 according to the cookbook serving size and $1.51 according to how I think normal people would eat it.

As for calories, this is pretty standard for a vegetable side dish: 145 calories per serving for the cookbook serving size and only 73 calories for how we ate it.  Unfortunately, I can't tell you what the whole meal was exactly because, as I said above, I cannot figure out what recipe I used for the pork but with a pork chop and a salad I'd estimate that this would end up being less than 400 calories as we ate it.  I'd recommend some rice or pasta to go with it to add a little bit more to the meal (unless you're really trying to diet).  The cookbook recommends serving it with "sausages, roast duck, pork chops, or turkey. Add some buttered egg noodles for a perfect winter meal."

Friday, June 29, 2012

France!

I will be putting this blog on hold for the next five weeks because I am in France taking a language course and doing research for my dissertation.  See you all when I get back in August!