Friday, May 4, 2012

Chicken and Chile Pepper Stew

I've been unintentionally updating several times in a row of recipes from the Crock Pot Incredibly Easy Recipes cookbook... and here's one more.  Last July 12, I tried a recipe in the cookbook for a "Chicken and Chile Pepper Stew." It's another really simple recipe, illustrating that the cookbook lives up to its name.

Now, as the cookbook instructs -- so how I made it originally -- is you begin by chopping the chicken and all the vegetables (potatoes, onion, poblano peppers, a jalapeno pepper, and garlic) into chunks and then you put them all in the crock pot.  Now, if I make this again, I'd probably start instead by mixing the broth in the crock pot and then adding the vegetables to save the extra bowl that I needed to use in this case to mix the broth. Also, I should note that the recipe calls for boneless skinless chicken thighs but, as usual, I substituted chicken breasts for the thighs because I prefer that cut.

The broth is made of chicken broth, diced tomatoes, chili powder, and oregano.  The cookbook even specifies to get low sodium chicken broth and no-salt-added diced tomatoes, but I normally get those anyway.  So, as I noted above, I recommend if you make this recipe that you mix the broth in the crock pot first, then add all the vegetables instead of mixing the broth and pouring it over the vegetables.  In both cases  you mix it all together after adding the broth, so there's really no reason to use the extra dish (which you then have to take the time to wash).

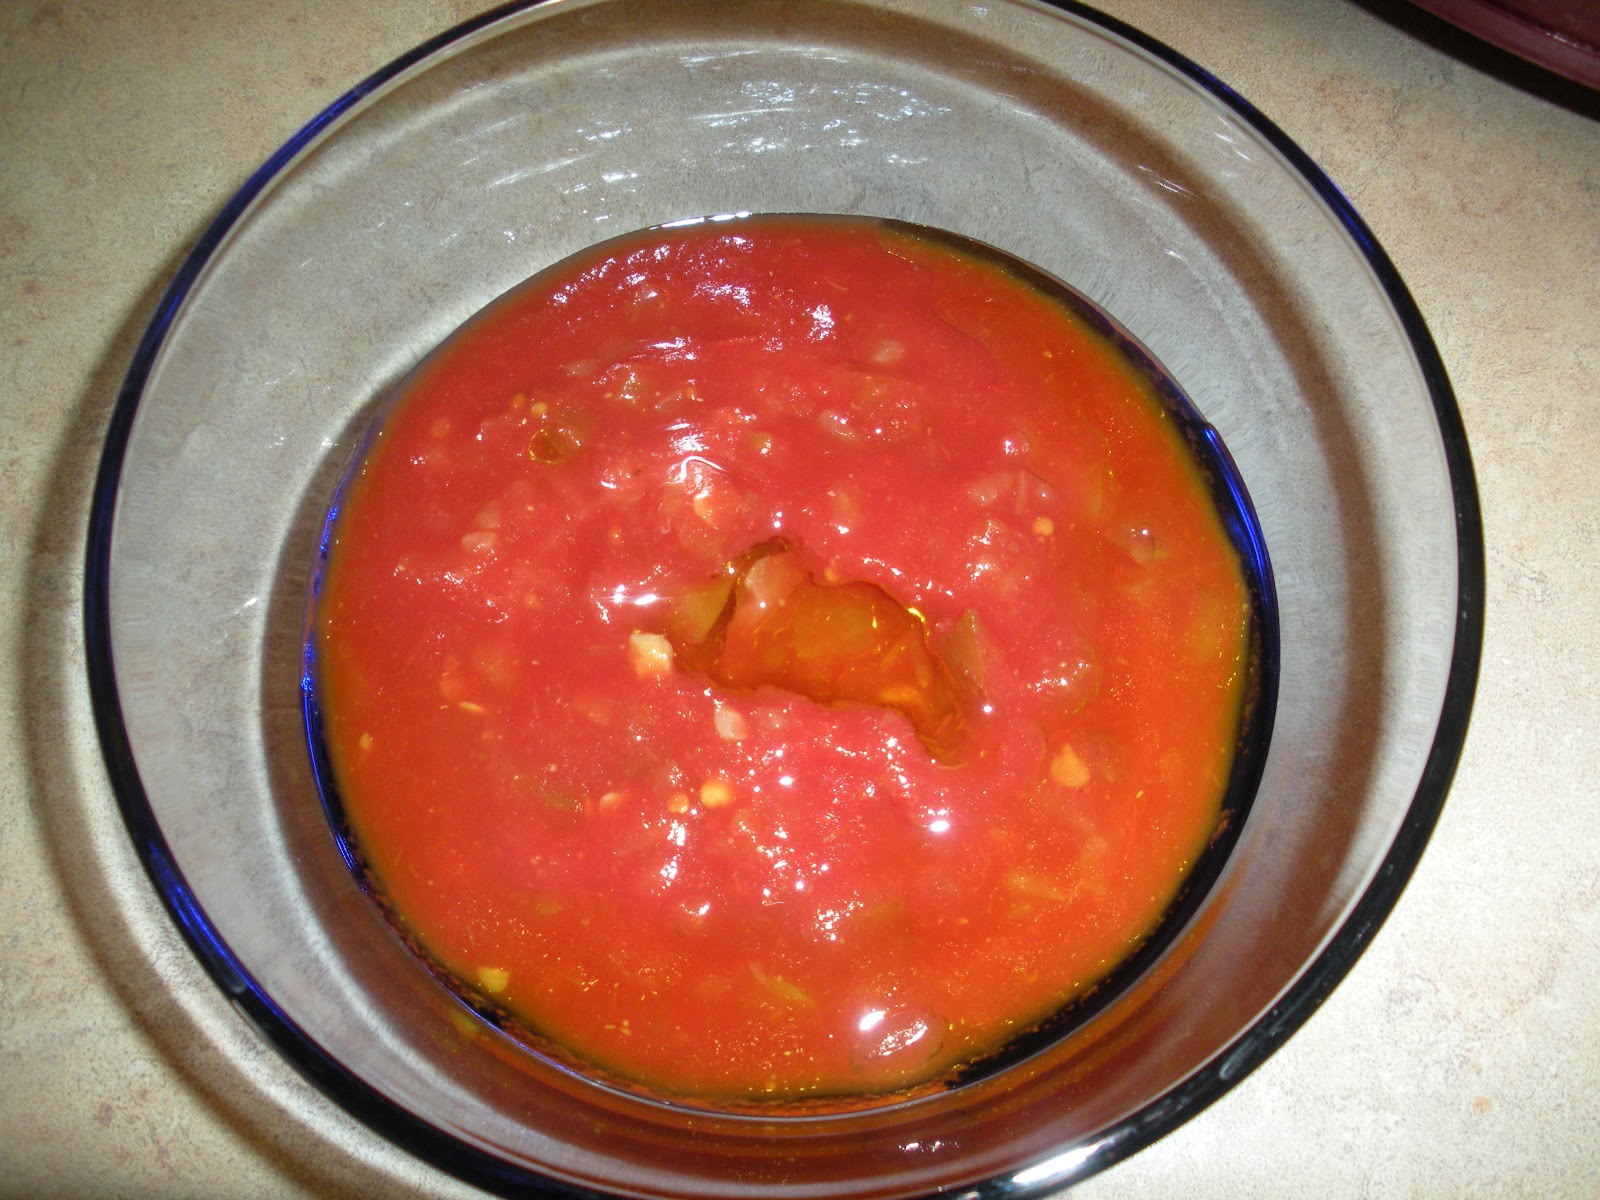
This is what the dish looks like before turning it on.

And this is what it looks like after cooking on low for eight to nine hours.

I served this stew with a salad, as you can see in the image to the left.  The stew itself is good, but I felt like the recipe ended up being too "potato-y".  The recipe calls for 1 pound of small potatoes, but I'd probably use less in a future attempt.  In terms of servings, this recipe says that it makes six servings, but I find in general that the soups and stews generally provide more servings than the recipe estimates.  However, because I don't remember how many servings we got, I'm going to have to use six to calculate cost and calories.

This is really healthy in terms of calories.  I calculated approximately 225 calories per serving, so the soup plus the salad come out under 500 calories total.  You could even add some French bread or rolls to the meal and still be within a reasonable amount of calories for dinner.  As for price, this is still really good, but not as cheap as some of the other dishes I've posted about.  If you had to buy everything for this dish, it would come out to about $5.33 per serving.  So, pretty good if you can cover one meal each day for six days at less than $10 a day!  As I made it, I paid about $4.58 per serving, but if I had all the staples I normally have on hand (onion, garlic, chili powder, and oregano) it would be a much more reasonable $3.68 per serving.  Since we had only moved into our new place the month before, this was the first dish that I made that called for chili powder so I had to buy that and it added almost a dollar to the price per serving!

Now, as you can see in comparing the picture on the left with the one above, this dish comes somewhat close to the image provided in the cookbook.  The one in the cookbook ends up more red, but otherwise it's not all that different.  Interestingly, the image above before I turned the crock pot on actually looks more like the image from the cookbook than it does after it was cooked.  Overall: this was a good and easy dish to make and I'd recommend it.  It's great for the grad student because it's one of those dishes that you can put together in the morning quickly (especially if you cut everything the night before) and then just leave it cooking all day while you're at school.

Saturday, April 28, 2012

Barbecued Pulled Pork Sandwiches

So, I've taken an unintentional hiatus from blogging while I finished up my dissertation prospectus.  But, this past week I successfully defended my prospectus so I feel (probably wrongly) that my life can calm down a little bit because I don't have any major looming deadlines.
Being at school in Saint Louis, I've come to especially appreciate barbecue. My husband and I try to go hiking every weekend and then check out a new barbecue joint near where we hike. One of my favorite things to get at Pappy's Smokehouse (as seen on Man v. Food!) is the pulled pork sandwich.

Back in June, before my husband and I moved into our new apartment, I made pulled pork in the crock pot for him and my roommate.  This recipe, from the Crock Pot Incredibly Easy Recipes cookbook, is really easy to do but you have to make sure that you start it early enough because it takes a long time to cook.

The first step is simple: placing a pork shoulder roast into the crock pot and cooking it on low for 10-12 hours (if you're short on time, you could do it on high and cut the time in half).  The first image posted above is of the roast after it was finished cooking.  I forgot to take a "before" picture, but it's not that interesting because it's only a raw pork roast in a crock pot.

After the roast is done cooking, you take it out of the crock pot and dump out the fatty liquid left over from cooking.  You take the roast and remove any extra fat from the outside (though I recommend cutting as much off as you can before you cook it) and shred the entire thing using two forks -- so it looks like the pulled pork you're used to.

Add the pork back into the crock pot with chopped onion, barbecue sauce, lemon juice, and brown sugar, mixing everything together.  You can use whatever type of barbecue sauce you want.  As you can see in the image above, I picked one that was a Budweiser barbecue sauce because it looked interesting and was on sale.  Then, you turn it on again and and cook for 2 hours on low (or half that time on high).  If I recall correctly, I think I cooked the roast initially on high, then did the pulled pork mix on low.

This is what it looks like before turning it on.

And this is what it looks like after it's done (so... not all that different).

As you would expect, the pulled pork is served on hamburger buns or other similar rolls.  Additionally, as you can see from the image below, this is one of the crock pot dishes where the final dish actually looks something like the image that they have in the book so it's possible that they made the food from this image in the crock pot!

In terms of servings, this recipe says that it makes eight servings, but obviously you can get either more or less depending on how much meat you put in each sandwich.  I think we ended up getting less than eight servings, but since I can't remember completely (I know -- I really should update about things I make right after I make them so I can remember) I'm going to use their number to calculate calories and cost.  In terms of calories, this isn't bad at all for a pulled pork sandwich!  I calculated about 525 calories per sandwich, but it might actually be a little less than that because (as I've mentioned in other posts) the calories are for the weight of the meat when cooked, but I only know the weight raw.  In terms of cost, this is a great savings.  If you had to purchase everything, it would only be about $2.03 per serving.  And it actually might be a little less depending on, for example, the size of the lemon juice you buy (I could only find the price for 32 oz lemon juice, but if you were to purchase a smaller container or a lemon itself, it would be less).  We already had brown sugar and lemon juice because those are staples that I always have on hand, so I only paid about $1.56 per serving!  You'd get about a week's worth of meals on this one if you're married (unless your husband normally eats two servings, in which case it would be less) and if you're single, you'd be covered for dinners into the next week (if you can stand eating pulled pork every night for dinner, that is).

Anyway, this recipe was amazing and what impresses me most about it is how easy it is.  That was really good for me at the time because I was trying also to pack for moving and to read for my second year exams!

Saturday, March 17, 2012

Corned Beef and Cabbage

Happy Saint Patrick's Day!

I currently have corned beef cooking in the crock pot and the house smells amazing, but I first tried a Corned Beef and Cabbage recipe back on November 9 because we received a cabbage in our organic delivery. I tried the one from the Gourmet Slow Cooker cookbook, but the Not Your Mother's Slow Cooker Cookbook also has a version that is a bit different and I'll have to try that one at some point Right now, I'm trying Corned Beef with Molasses-Bourbon Glaze, which I plan to serve with roasted potatoes and cabbage and a banana rum cake--the dessert isn't very Irish, but I have bananas that I need to use up--all with black and tans, of course.  And, it's all a surprise for my husband who has been off rock climbing in Kentucky for the last few days and has no idea what I'm planning for dinner tonight.

But anyway, back to the Corned Beef and Cabbage. I picked the recipe in this cookbook originally because it was simpler in the sense that it had fewer ingredients (and hence fewer things that I needed to buy).  Each recipe is simple in the sense that you just put everything in the crock pot and then cook it until it's done.  As you can see from the pictures above and to the right, this recipe calls for corned beef, carrots, potatoes, onions, and cabbage.

As you can also see from these pictures, even my 6-quart crock pot is a bit small for this recipe!  If I were to make it again, I'd probably put in one less potato and maybe only one and a half onions or just one onion instead of two and not just because of the fit -- I'll explain more later.

The only spices that you put in are a sprig of fresh thyme and a bay leaf.  And, of course, some water and a cup of Irish beer.  I chose to use Harp because I (shock!) don't really like Guinness (at least by itself, hence the black and tans) and whatever I purchased we'd have to drink eventually.

Now, this was the first chance that I had to try out the cook by temperature option on the new slow cooker so was for sure going to try it out.  Of course, the cookbook does not have a temperature that this should be cooked to, just a time (8 to 10 hours), but almost all the cookbooks have a temperature guide somewhere in the beginning that tells you what the safe cooking temperature for each type of meat is.  (The Gourmet Slow Cooker actually doesn't, so I used the one in the Not Your Mother's Slow Cooker Cookbook.)  From that, I set the temperature to 145°F (the temperature listed for beef cooked to "medium"). Apparently, the USDA guidelines say that corned beef should be cooked to a minimum if 145°F, so I'm glad I did that.

This is what the corned beef looked like right after I poured in the water and beer and right before I turned it on.

And this is what it looked like when it was done cooking.

Now the interesting thing about cooking by temperature is that it takes a lot less time than the book says it should take!  I think the meat was cooked in something like four hours... which of course freaked me out and so I left it on for another hour or so anyway. (I'm doing the corned beef I'm making today by time, not temperature, so we'll see if the texture is any different.)  After it has finished cooking, you remove the thyme and bay leaf, take the beef out and cut it into slices and put it into bowls with the vegetables and some of the cooking liquid.  This was pretty good, but the recipe comes out a little bland with only the bay leaf and sprig of thyme as spices.  The one in the Not Your Mother's Slow Cooker Cookbook has you put in the seasoning packet that comes with the corned beef, cloves, pepper, brown sugar, and beer so I'm interested to try that one at some point to see what the taste difference is.

Now, the picture of my dish in comparison to the picture from the cookbook isn't half bad.  The only thing that is different is the cabbage loses most of its color in the crock pot -- something that I've seen in several dishes that I've made... which is why I'm convinced that none of the pictures in these cookbooks were actually cooked in a crock pot.

I'm not really sure that I can accurately calculate the calories per serving of this recipe.  When I plug in the amounts, it shows 786 calories per serving, but there are several reasons why that's not accurate.  First, the calories listed for meat are usually by weight as cooked, but I only know the weight before cooking.  And I'm not about to go invest in a food scale just to figure this out.  Also, the cookbook says that you get six servings out of this -- and that's pretty accurate.  However, there is only one to one and a half slices of the meat in each serving--the dish is mostly the vegetables.  Also, we ended up with two servings at the end that had no meat in them (which is why I think it's better to cut down on the number of potatoes and onions you put in).  So, let's just say that this isn't the most healthy meal that you could make.

This is also not the cheapest dish to make in comparison to some of the others I've made.  Beef brisket is expensive and that really adds to the total.  I estimate that this dish comes out to about $5.45 per serving -- still not that bad (not counting the 2 veggie-only servings, of course).  I already had the cabbage and carrots, but those are relatively cheap items so as I made it, it was $4.90 per serving for me.  Still: corned beef and cabbage for about $5.00 per serving?  I dare you to find that at an Irish pub anywhere.

Sunday, March 11, 2012

Salsa Meat Loaf

Most people think first of soups and stews when they think of slow cooking, but your crock pot is also a good way to make meat loaf!  As you may recall, I posted a recipe previously about meat loaf (Meat Loaf on a Bed of Potatoes) and said that one of the major difficulties was in trying to get the meat loaf out of the crock pot.  Well, I tried meat loaf again not long after I moved into my new apartment, back on June 28 of last year, and did much better.  The key is making a foil cradle (like in the picture to the left), which you will use later to take the meat loaf out.

I got this recipe, for Salsa Meat Loaf from the Not Your Mother's Slow Cooker Cookbook, the same one I got the previous meat loaf recipe from.  Interestingly, when looking for where I had found this recipe originally, I looked in several of my cookbooks and not a single other cookbook that I own has a meat loaf recipe in it, while this one has five in the "Beef, Veal, and Venison" chapter and another one, made with ground turkey, in the "Poultry, Game Birds, and Rabbit" chapter.

To make the meatloaf, you mix together ground beef, an egg, oats, salsa, red onion, marjoram or oregano, cumin, salt, and pepper.  I'm pretty sure that I used oregano because that's what I had already.  And as most people know who are regular readers of this blog, I left out the salt.  Then you place it into the crock pot in one big lump, before shaping it out into a loaf shape that fills the entire bottom of the crock pot, as you can see in the image to the left.  Then it cooks on low for about 6 hours.  The cookbook says to cook it until "an instant-read thermometer inserted in the center of the meat loaf registers at least 160° to 165°F" so this would be a great recipe to do with my new crock pot which has the cook by temperature option, but as you can see, I made this recipe before I had that one so I don't know how well that would work.

Now, toward the end of the cooking time, about 30 minutes according to the cookbook, you mix some more salsa with some olive oil and then spread it over the meat loaf.  Now, this probably wouldn't work if you went the temperature route so you could also just wait until it was done cooking and then spread the salsa mixture on the meat loaf.  Regardless, you should cook it for another 30 minutes on low after adding the salsa mixture.

Now, the taking the meat loaf out of the crock pot process is really a two-person job, but with the foil cradle it is much easier than it was to take the meat loaf out in the first meat loaf recipe that I tried.  In this case, you use the foil strips and handles to get the meat loaf out of the crock pot in one piece.  Now, the cookbook says that you should slide out the foil strips and throw them away, but I find when you first take it out of the crock pot, the meat loaf is too soft to do that.  I just ended up serving it as it was and then taking away the strips when I was packing up the leftovers.

The good thing about my previous attempt at meat loaf was that it cooked over potatoes so you just needed to add a vegetable and/or a salad to have a complete balanced meal.  In this case, I didn't have that option, so I made baked sweet potatoes in the second crock pot I have (the dual one, but I only used one side in this case).  It seems a little ridiculous, of course, to make baked potatoes in the crock pot because they take 6 to 9 hours on low to cook and in the oven they'd only take about an hour.  However, I often think that I'd like to have a baked potato with dinner, but I tend to work up until dinner and by the time I get around to cooking at all, I'm really hungry and so I just go with something that is quicker.  So the crock pot baked potatoes are really good to start in the morning and then by the time you're ready to eat, they're already done!

It's also really quick and easy (as are normal baked potatoes too, I guess).  You just wash the potatoes, stab them a few times, wrap them in foil, and throw them in the crock pot.  In this case, I actually prepared and started the potatoes first because they take longer and then started making the meat loaf. When it was time to eat, I made some broccoli to go on the side (I suspect this was cooked from frozen because I don't have fresh broccoli listed on my receipt for the shopping trip prior to making this) and dinner was served!  The meat loaf was good too!  Not like the meat loaf like my mom used to make, but the salsa is a nice touch!

Now, in terms of all my calculations, here's the thing: I have no idea how many servings we got out of this.  The cookbook says 6 to 8 but this is another case where it all depends on how thick you slice it.  So, for sake of calculations, I'm going to assume that we got 8 servings out of it because I know that I tend to serve thinner slices.  In that case, the meatloaf alone only comes out to about 243 calories per serving.  The broccoli and the sweet potato are only about 115 calories total, so the whole meal is only about 358 calories.  So if you're like my husband, you may want to have more than one slice of the meatloaf, making it up to 601 calories.  In terms of cost, this is a little bit pricey (well, in comparison to other crock pot meals I've made, not in comparison to eating out) if you needed to purchase all the ingredients.  I calculated it at about $5.15 per serving if you needed to purchase everything, including the sides (it's $4.63 for the meatloaf alone).  Of course, I had almost everything (includin g the sides) so it was only $1.83 per serving -- really good on my grad student budget.

Sunday, February 19, 2012

Rachel Ray's Indian-Style Crock Pot Curry

When my husband and I first moved into our new apartment, there was a period in which we had a million boxes and my cookbooks were all buried somewhere so I ended up searching the internet for some good crock pot recipes.  (In fact, if you skip down to the last photo, you can see some of the unpacked boxes on the floor behind my husband.)  On June 23 I tried making a recipe I found online: Rachel Ray's Indian-Style Curry.  I picked this recipe because my husband absolutely loves Indian food, having grown up with close family friends who are Indian. Interestingly, this recipe is different than many of the other ones I've made, and in a really brilliant way that just, silly enough, never occurred to me.  Most of the recipes I make have you put most of the ingredients in the crock pot, then mix the sauce in a separate bowl and pour it over everything else.  What is cool about this is it really was one-pot cooking.  It has you make the sauce first in the crock pot, then add the other ingredients and stir everything together.

As you can read from the link above, the sauce is made out of coconut milk, tomato paste, curry, coriander, cumin, and hot sauce.  Then you add all the other ingredients and mix it together: onion, garlic, ginger, bell pepper, eggplant, sweet potatoes, chick peas, chicken, salt, and black pepper.  Now I skipped the salt, as I often do.  Also, although this recipe called for bone-in, skinless chicken thighs, I substituted boneless, skinless chicken thighs -- of course I find that my favorite cut of chicken is the boneless, skinless chicken breast so these days whenever I have a chicken recipe I tend to use that regardless of what it actually calls for (especially when they are on sale at the grocery store!).  Then you cook on high for four hours.

This is what it looked like before turning it on.

And this is what it looked like when finished cooking.

Now, the recipe as listed on the Rachel Ray website suggests that you serve it over white rice and garnish it with lemon wedges, scallions, cilantro, peanuts, and mango chutney.  I decided to serve it over rice, but skipped the ridiculous amount of garnish completely.  Looking back over my receipt (that I dug up out of a pile of old receipts to figure out how much I spent on this meal), I did purchase everything for the garnish at Trader Joe's but I think I forgot about it when it actually came time to serve the recipe -- which would make sense because I wouldn't have looked up the recipe online again before serving four hours later.  Overall, both my husband and I thought this was a good recipe, but it is a very mild curry and doesn't feel very Indian -- more like an American take on Indian food.  Of course, if you wanted to make it more spicy, you could use more hot sauce or throw in some crushed red pepper.  But still, it was yummy.

Now, at this point, this was so long ago that I can't even pretend to remember how many servings we got out of it so I'll use Rachel Ray's estimate of four servings even though I'm pretty sure we got more than four servings out of this.  Of course, I also used the whole eggplant instead of just half as she recommends... cause what would I do with half an eggplant?  In terms of calories, this one is pretty heavy, especially if you include the rice.  The curry itself is about 587 calories per serving, if you're counting for four servings.  Then, add about 140 calories to each serving for the rice, making this meal almost 730 calories per serving without adding a salad or a beverage.  However, since I suspect that I actually got more than four servings out of this, I will note that this recipe is only 392 calories per serving for six servings (so even with the rice, only about 532 calories per serving -- much more reasonable for someone who tends to be sitting at a desk all day).

In terms of cost, this was actually a bit pricey for me to make, but part of that was because we had just moved into our new place and so didn't have any spices and such yet and I had to purchase all of them.  The one thing we already had on hand was the hot sauce because my husband is addicted to Tapatio.  Using 4 servings, this comes out to $8.39 per serving (not counting the garnish) if you have to purchase everything (though if you make it into 6 servings, it's around $5.59 per serving).  However, if you cook regularly and already have the spices on hand, it's a much more reasonable $5.17 per serving.  Still -- 4 meals for the week at under $10 per meal?  Not too bad for those of us on a limited budget.

----------

Finally, I apologize for having been a week late with this post.  Somehow, I planned to be updating my blog the same weekends that I've scheduled to submit drafts of my dissertation prospectus to my seminar.  So, it's quite possible that some weeks until I get this done will be a little late.  But such is the life of the grad student.